

Overview
Getting started with BoldCreate is quick and easy. This guide will show you, how to download, install, and set up the IDE on both Windows and macOS. Whether you’re new to BoldCreate or setting it up on a fresh system, this simple walkthrough will help you get everything ready in just a few minutes—so you can start building right away!
Prerequisites
| Requirement | macOS | Windows |
|---|---|---|
| Operating System | macOS 11 (Big Sur) or newer | Windows 10 or newer |
| Processor | Apple Silicon or Intel | Intel Core i5 or similar |
| RAM | 8 GB minimum (16 GB recommended) | 8 GB minimum (16 GB recommended) |
| Disk Space | 2 GB | 2 GB |
What You’ll Learn
By the end of this tutorial, you’ll learn how to:
- Create your BoldCreate account.
- Download and install BoldCreate IDE.
- Sign in and start using the IDE.
Installation Steps (For both macOS & Windows)
Step 1: Download the Installer
-
Visit the official BoldCreate website.
-
Click “Get Started Now” to open the BoldCreate enterprise page.
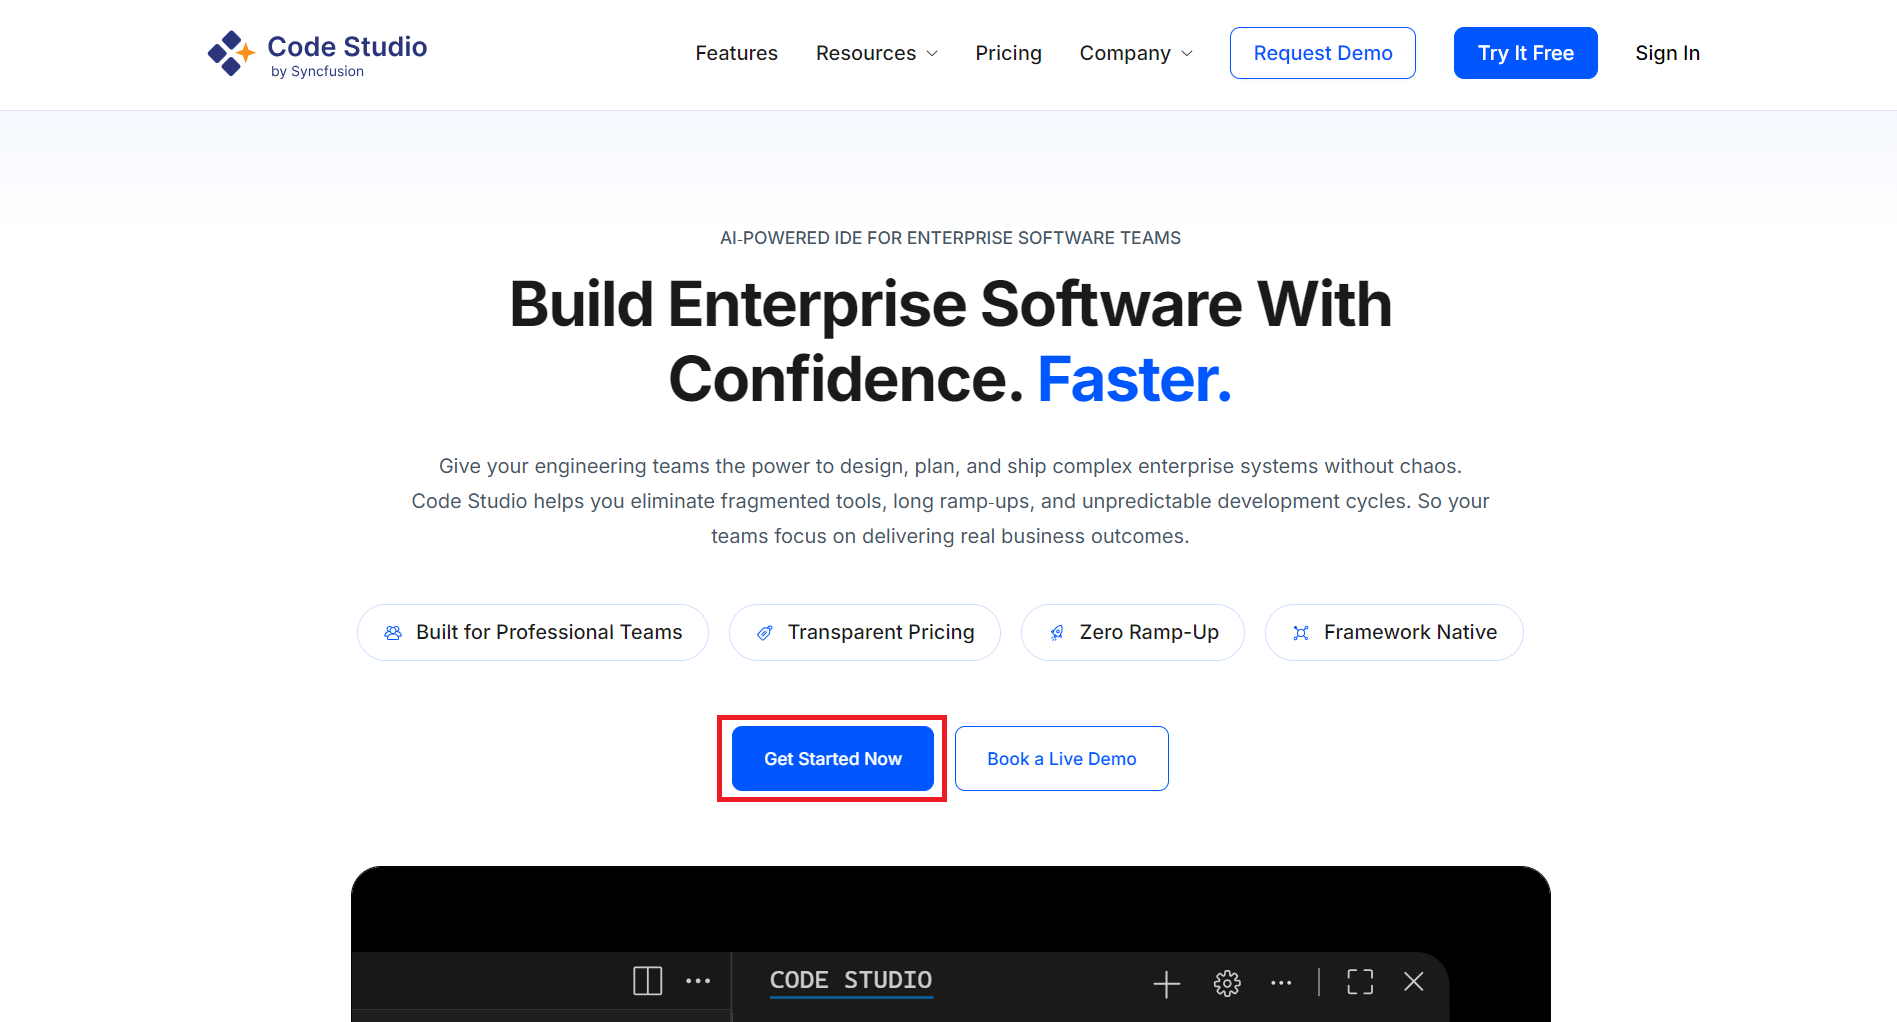
Note: The enterprise page is for organizations to monitor and manage AI usage.
-
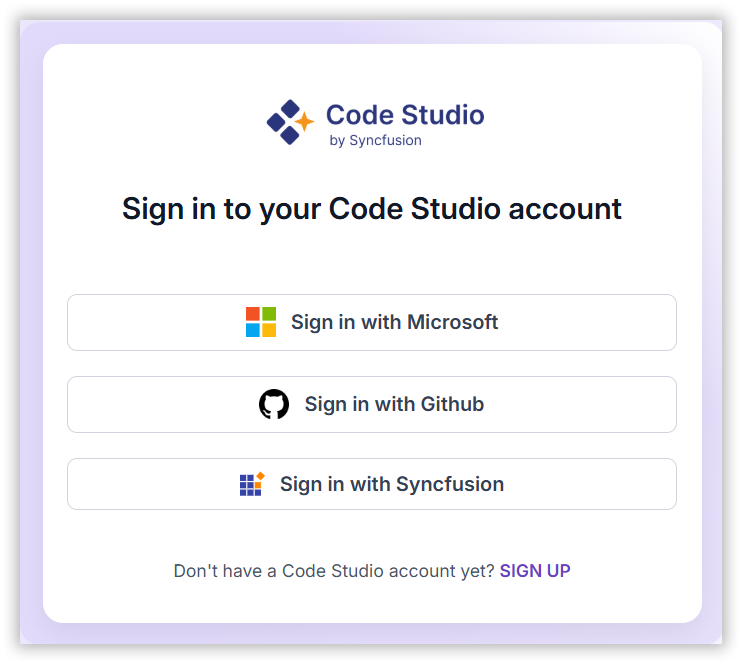
If you already have BoldCreate Account, choose one of these sign-in options to sign-in with BoldCreate Enterprise server or else click “SIGN UP” to create one:
- Microsoft Account: Use your personal, work, or school Microsoft credentials.
- GitHub Account: Sign in with your GitHub credentials.
- Syncfusion Account: Create a new account using your email and password.
-
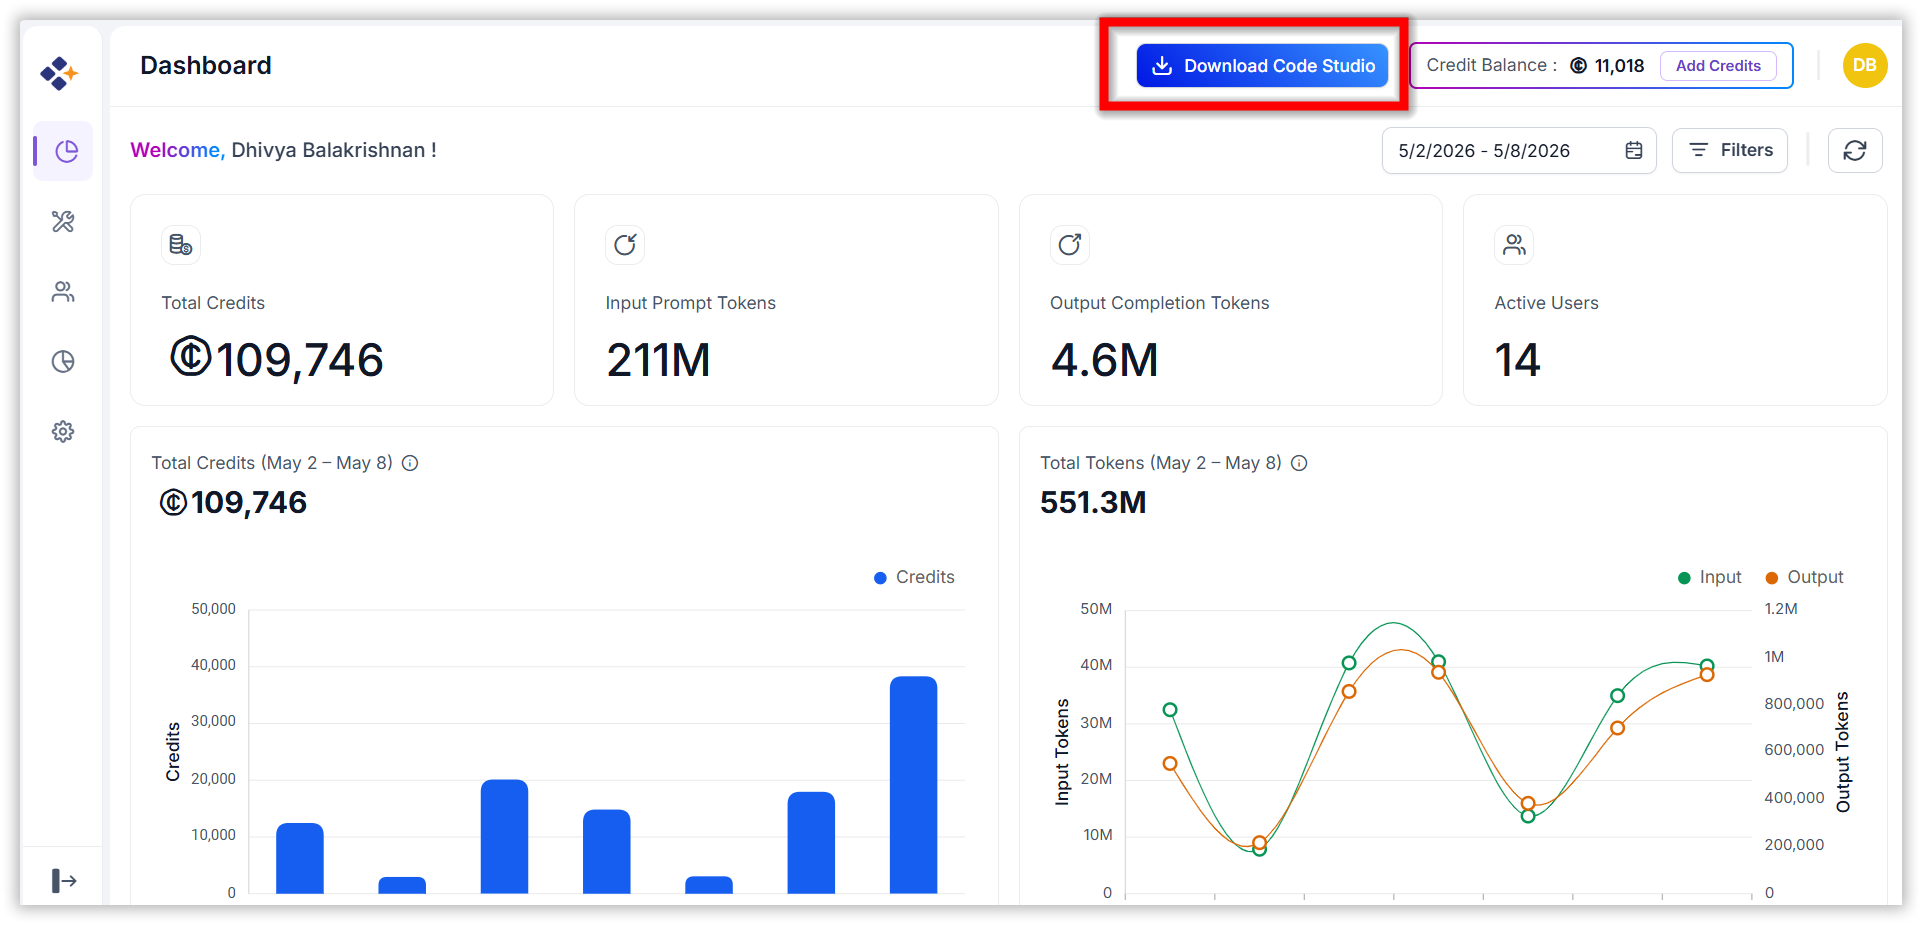
Click Download BoldCreate.
-
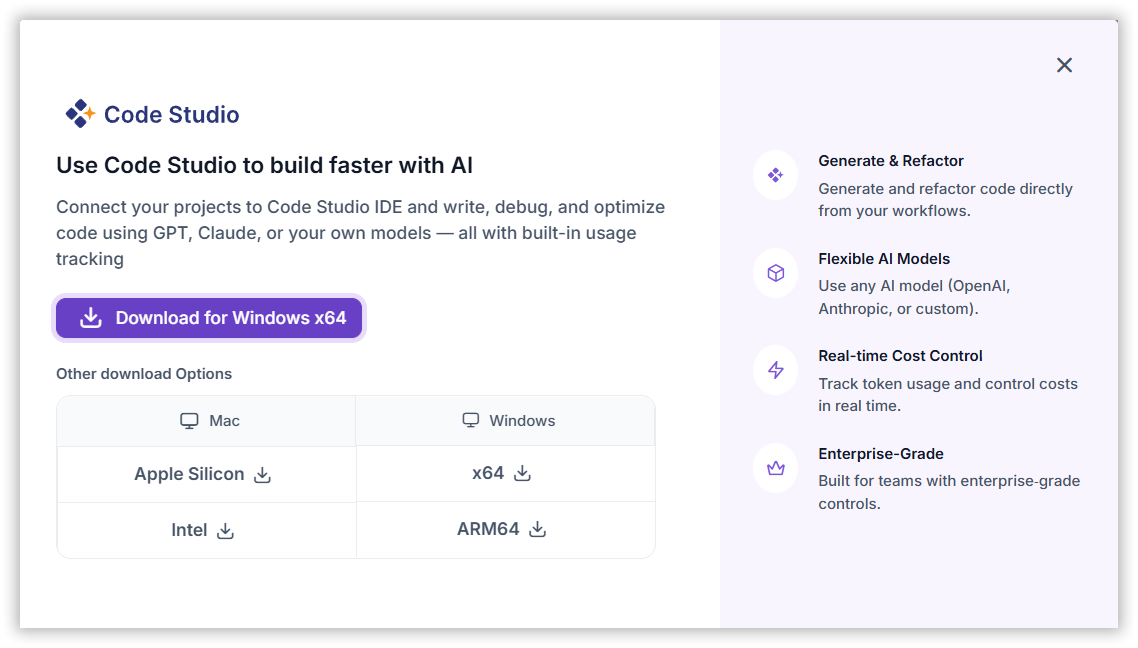
Download your preferred operating system.
-
The setup file will be downloaded to your local system.
Step 2: Install the Application
macOS:
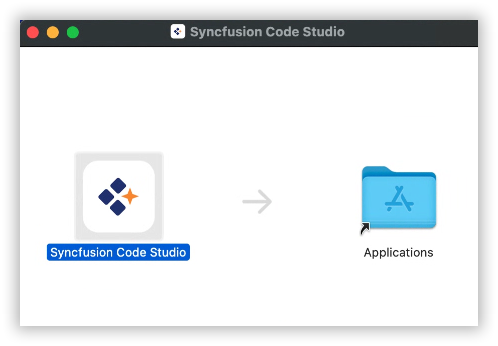
- Double-click the .dmg file.
- On first launch, you may see a security prompt: “App was downloaded from the internet. Are you sure you want to open it?” → Click Open.
- Drag the app icon into the Applications folder.
Windows:
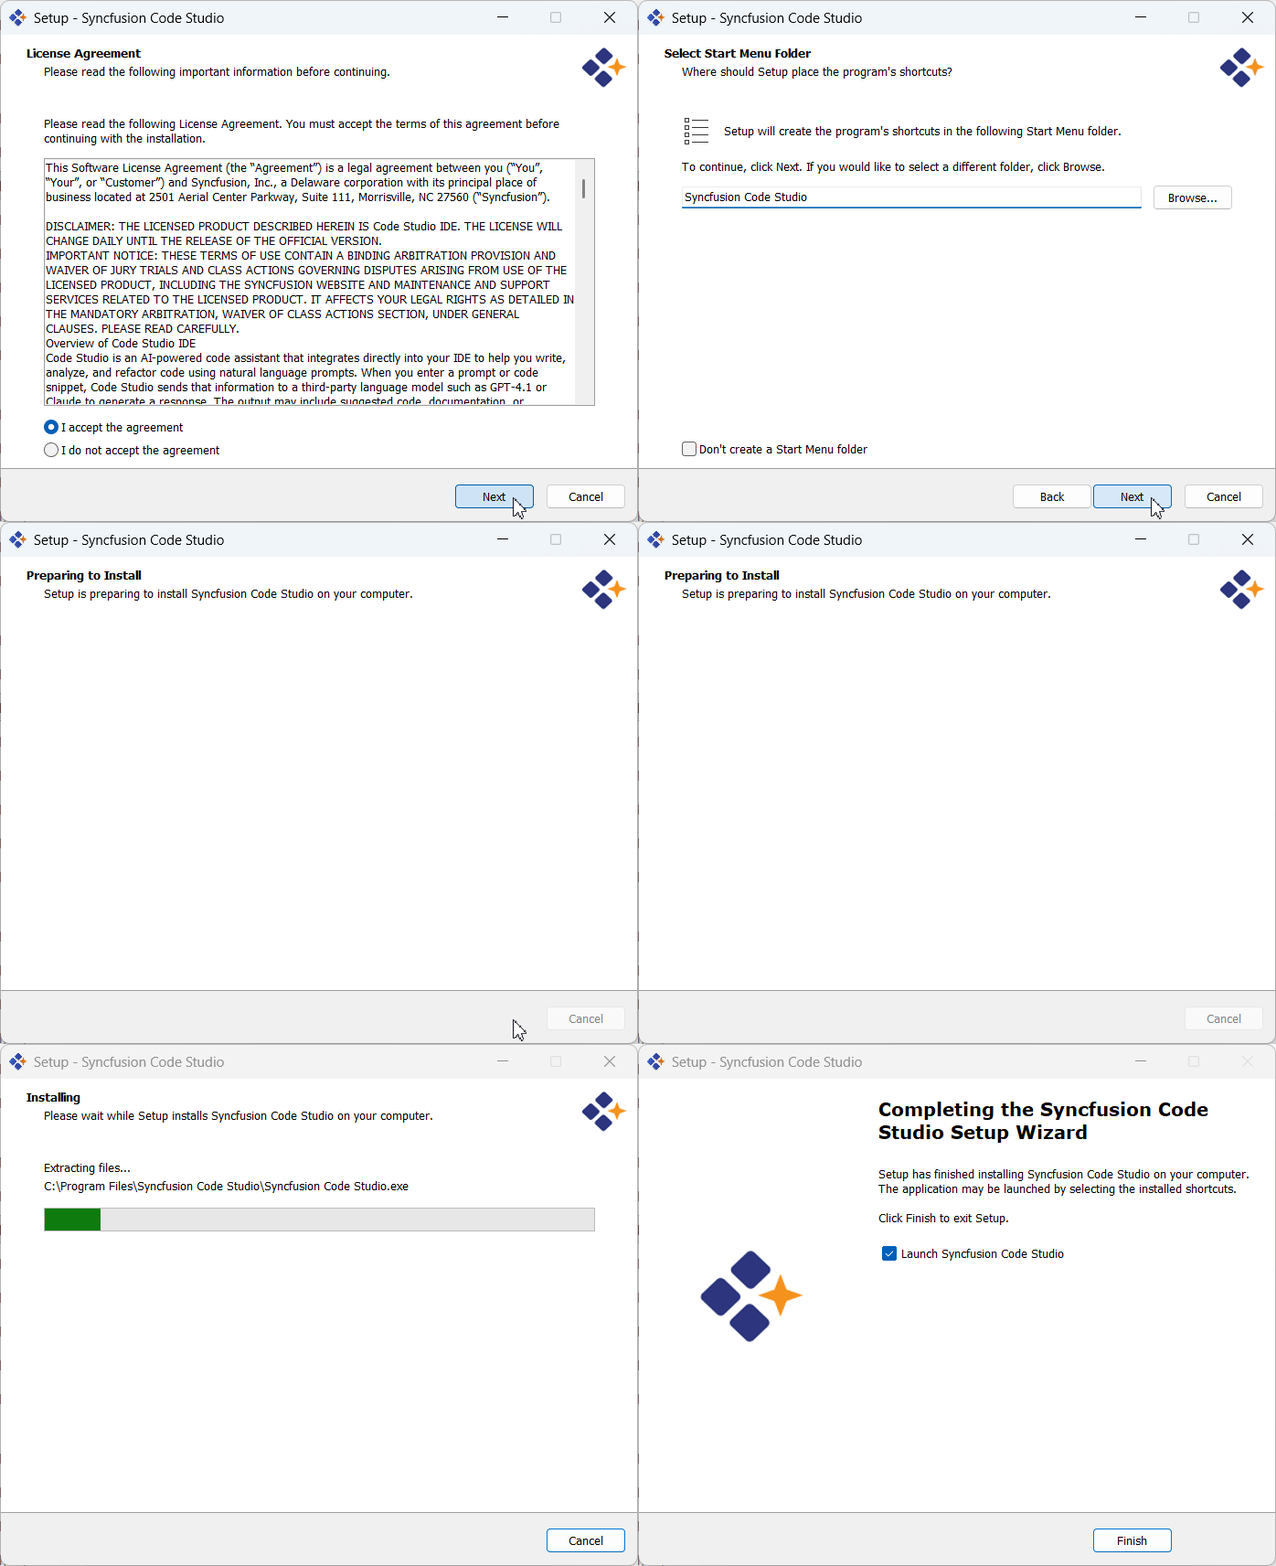
- Double-click the .exe setup file.
- Standard UAC prompt → Click Yes.
- Accept the License Agreement.
- Choose installation folder path (default: Program Files).
- Click Install and wait for completion.
Step 3: Sign In with BoldCreate IDE
-
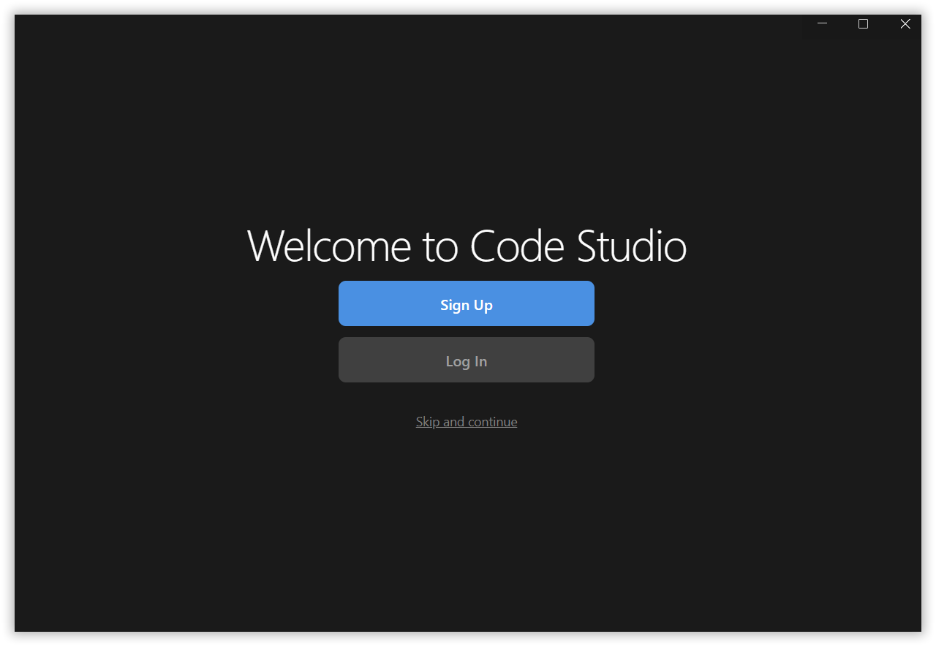
After installing BoldCreate IDE, the Welcome Page will appear.
-
To activate your account and enable all features, you’ll need to sign in inside the IDE. Choose one of these sign-in options:
- Microsoft Account: Use your personal, work, or school Microsoft credentials.
- GitHub Account: Sign in with your GitHub credentials.
- Syncfusion Account: Create a new account using your email and password.
Step 4: Start Using BoldCreate
After installing BoldCreate, you can start using it immediately.
-
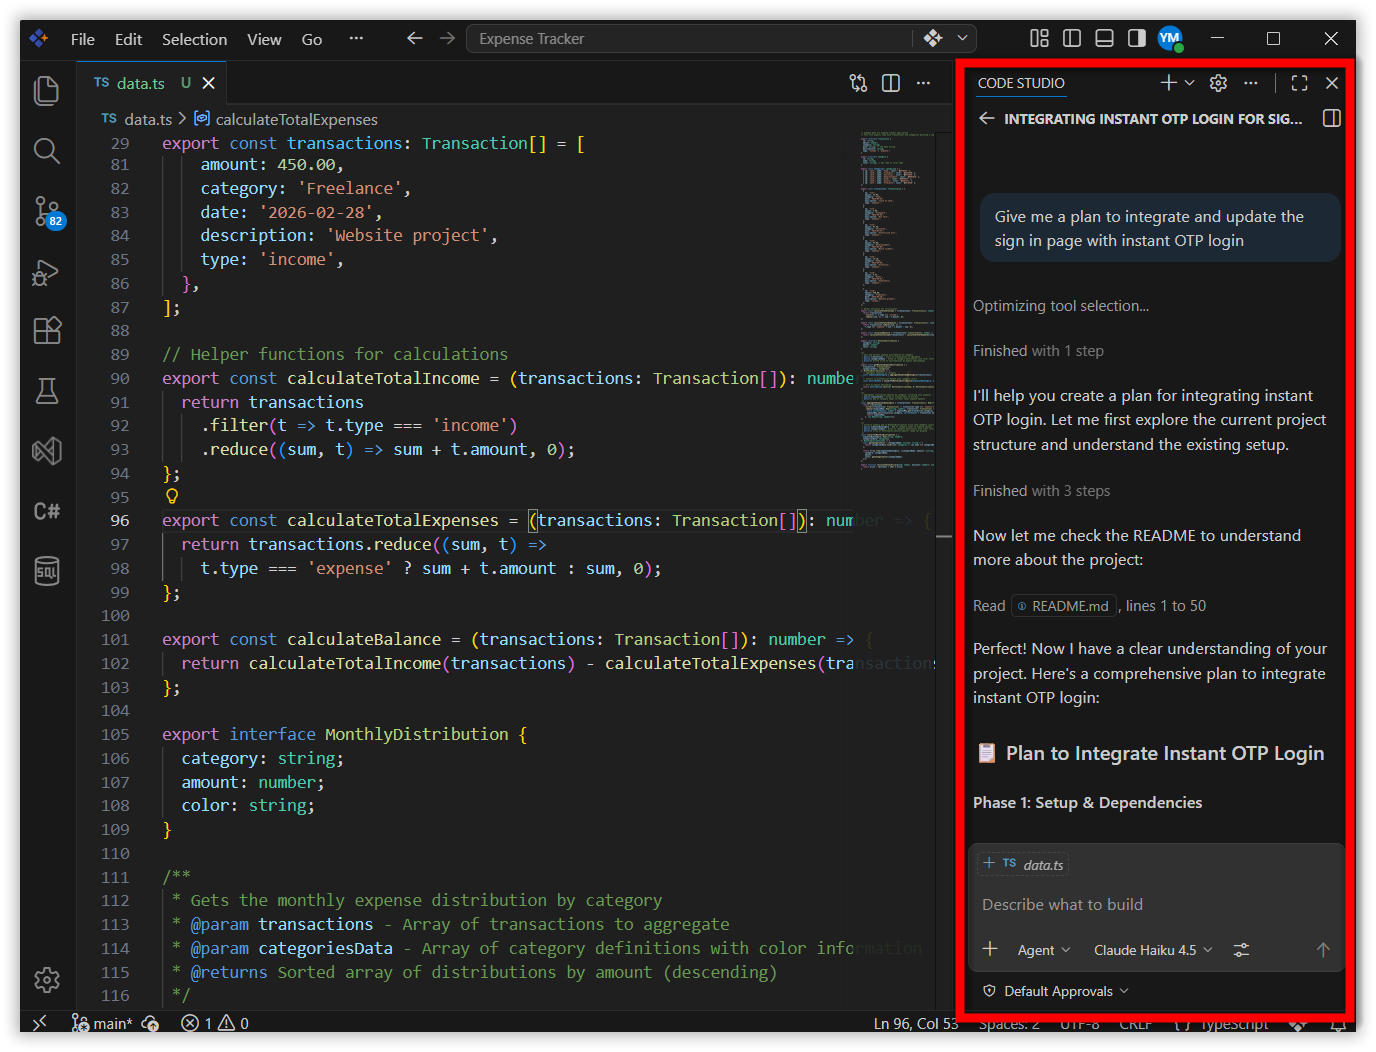
Open the BoldCreate IDE and access the BoldCreate chat box, which acts as your built-in AI assistant for coding tasks.
-
Type your first query in the chat panel.
-
If BoldCreate responds, your subscription is active.
-
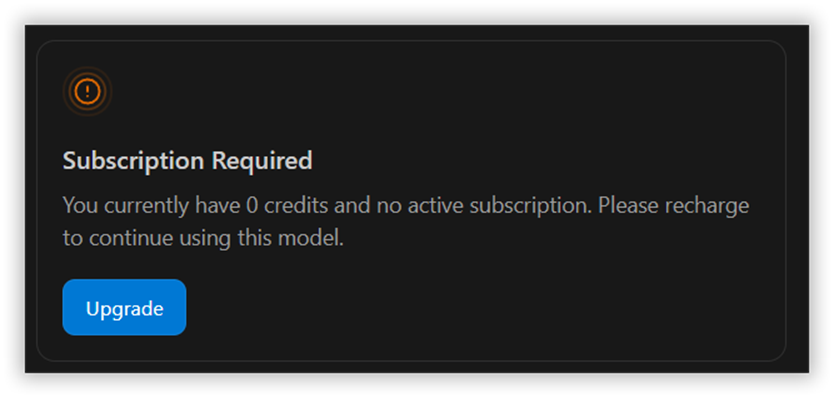
If the BoldCreate IDE chat box does not respond, you will see a message prompting you to subscribe to a plan for full access to features.
-
Select Upgrade.
-
Choose the subscription plan you prefer.
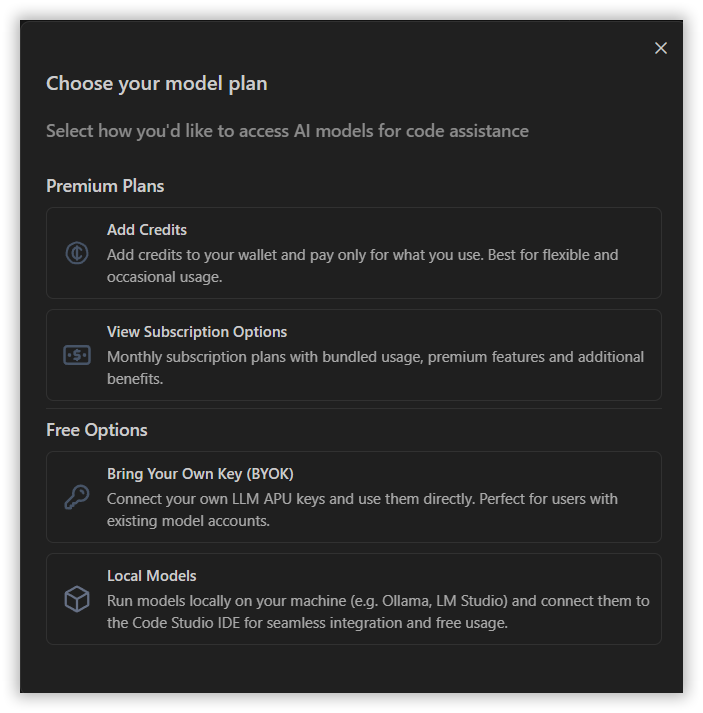
To know more about the BoldCreate Subscription plans, click on View Subscription Options.
Next Steps
Once you have installed BoldCreate, the following topics will help you explore its features and get the most out of your development workflow: