

Overview
BoldCreate provides intelligent AI-powered assistance for Go development, helping you write clean, idiomatic Go code with greater speed and confidence. Whether you’re building microservices, CLI tools, web applications, or cloud-native solutions, BoldCreate works seamlessly with Go’s toolchain to enhance your productivity.
This guide walks you through setting up a complete Go development environment—from installing the Go compiler to writing your first Go program. Once configured, you’ll be able to leverage BoldCreate’s autocomplete, debugging assistance, code explanations, and smart refactoring for all your Go projects.
Prerequisites:
- BoldCreate must be installed. If not, see the installation guide.
- Disk Space: ~500 MB for Go installation
What You’ll Learn
By the end of this tutorial, you’ll learn how to:
- Install and configure the Go compiler on Windows and macOS
- Install and configure the Go extension with essential tools
- Set up Go modules for dependency management
- Write and run your first Go program in BoldCreate
- Debug Go applications with breakpoints and variable inspection
Download and Install Go
Windows
Step 1: Download Go Installer
- Visit the official Go downloads page
- Download the Windows installer (
.msifile) for your architecture- Most users:
go1.XX.X.windows-amd64.msi
- Most users:
- Save the file to your Downloads folder
Step 2: Run the Installer
-
Double-click the downloaded
.msifile -
Follow the installation wizard:
- Click Next on the welcome screen
- Accept the license agreement
- Choose installation location (default:
C:\Program Files\Go) - Click Install
-
Wait for installation to complete and click Finish.
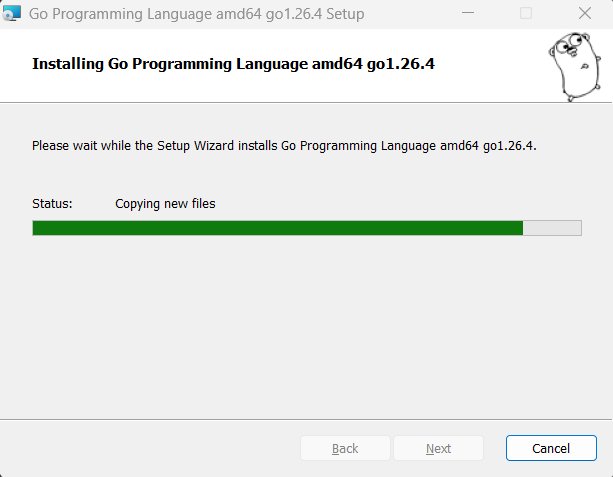
Note: The installer automatically adds Go to your system PATH.
Step 3: Verify Installation
-
Open a new Command Prompt or PowerShell window (must be new for PATH changes to take effect)
-
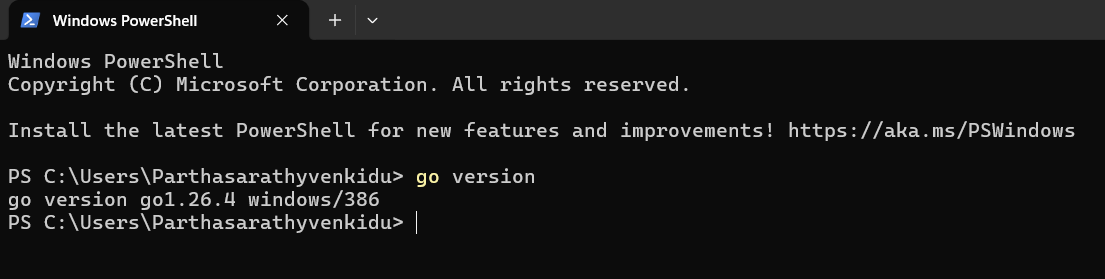
Run:
go version -
You should see the installed Go version
macOS
If you’re on macOS, you have two options for installing Go: the official installer or Homebrew.
Method 1: Official Installer (Recommended)
Step 1: Download Go Installer
- Visit the official Go downloads page
- Download the macOS installer (
.pkgfile) for your architecture:- Apple Silicon (M1/M2/M3):
go1.XX.X.darwin-arm64.pkg - Intel Mac:
go1.XX.X.darwin-amd64.pkg
- Apple Silicon (M1/M2/M3):
Step 2: Run the Installer
-
Double-click the downloaded
.pkgfile -
Follow the installation wizard:
- Click Continue on the introduction screen
- Accept the license agreement
- Click Install (may require your password)
-
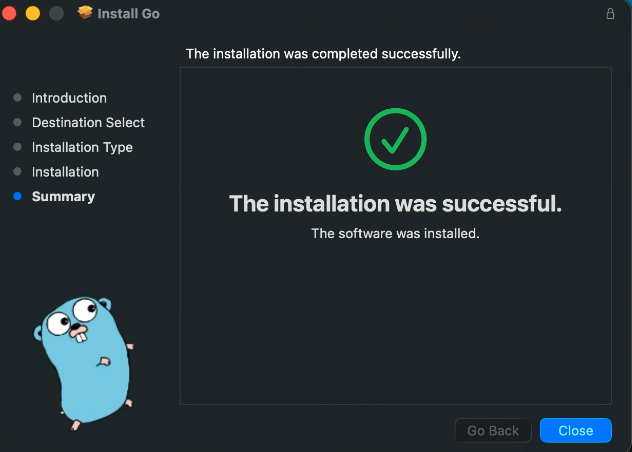
Wait for installation to complete
-
Click Close
Method 2: Install via Homebrew
If you have Homebrew installed:
- Open Terminal
- Run:
brew install go - Wait for installation to complete
Verify Installation
-
Open Terminal (Applications → Utilities → Terminal)
-
Run:
go version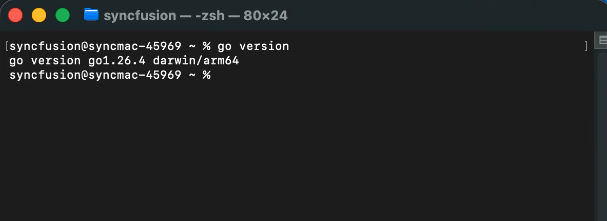
Configure Go in BoldCreate
With Go installed, the next step is to set up BoldCreate to work seamlessly with your Go environment. This involves installing the Go extension and essential development tools.
Step 1: Install Go Extension
-
Open BoldCreate
-
Click the Extensions icon in the sidebar (or press
Ctrl+Shift+X/Cmd+Shift+X) -
Search for “Go” (by the Go Team at Google)
-
Click Install
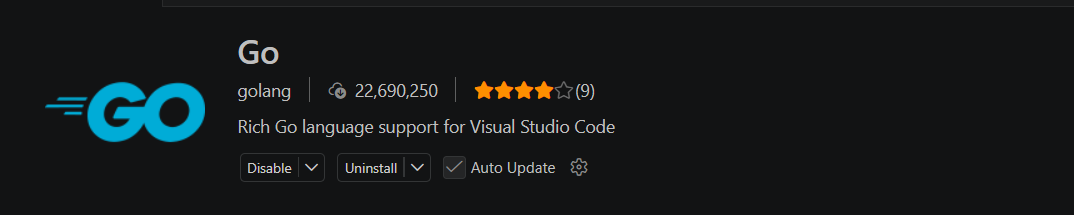
Step 2: Install Go Tools
The Go extension requires several tools for full functionality. BoldCreate will prompt you to install them automatically.
-
Open the Command Palette (
Ctrl+Shift+P/Cmd+Shift+P) -
Type: “Go: Install/Update Tools”
-
Select all tools from the list (or check all)
-
Click OK
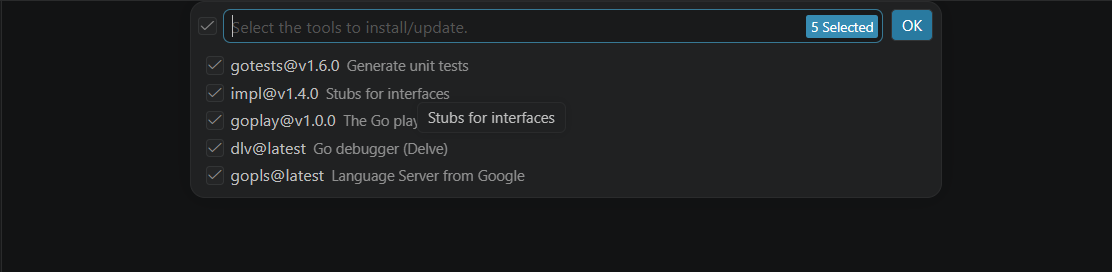
Write Your First Go Program
Now that everything is configured, let’s create a simple Go program to verify your setup.
Step 1: Create a Go Module
-
Create a new folder for your project (e.g.,
hello.go) -
Open it in BoldCreate: File → Open Folder
-
Open the Terminal (`Ctrl+
/Cmd+“) -
Initialize a Go module:
go mod init example/hello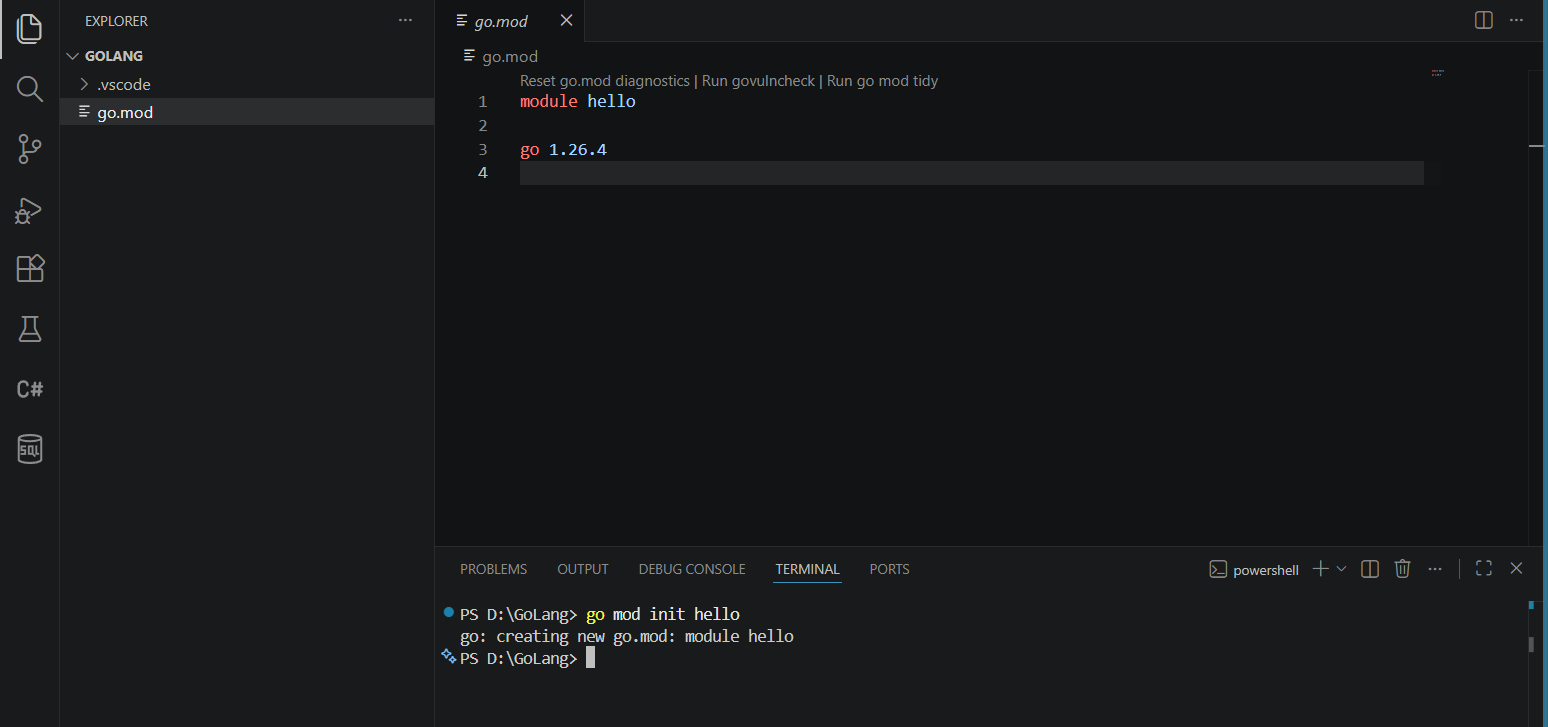
This creates a go.mod file that tracks dependencies.
Step 2: Create Your First Go File
-
Create a new file:
main.go -
You can write the code yourself or ask BoldCreate to help:
Try this prompt in BoldCreate Chat:
Create a simple Go hello world program with basic input/output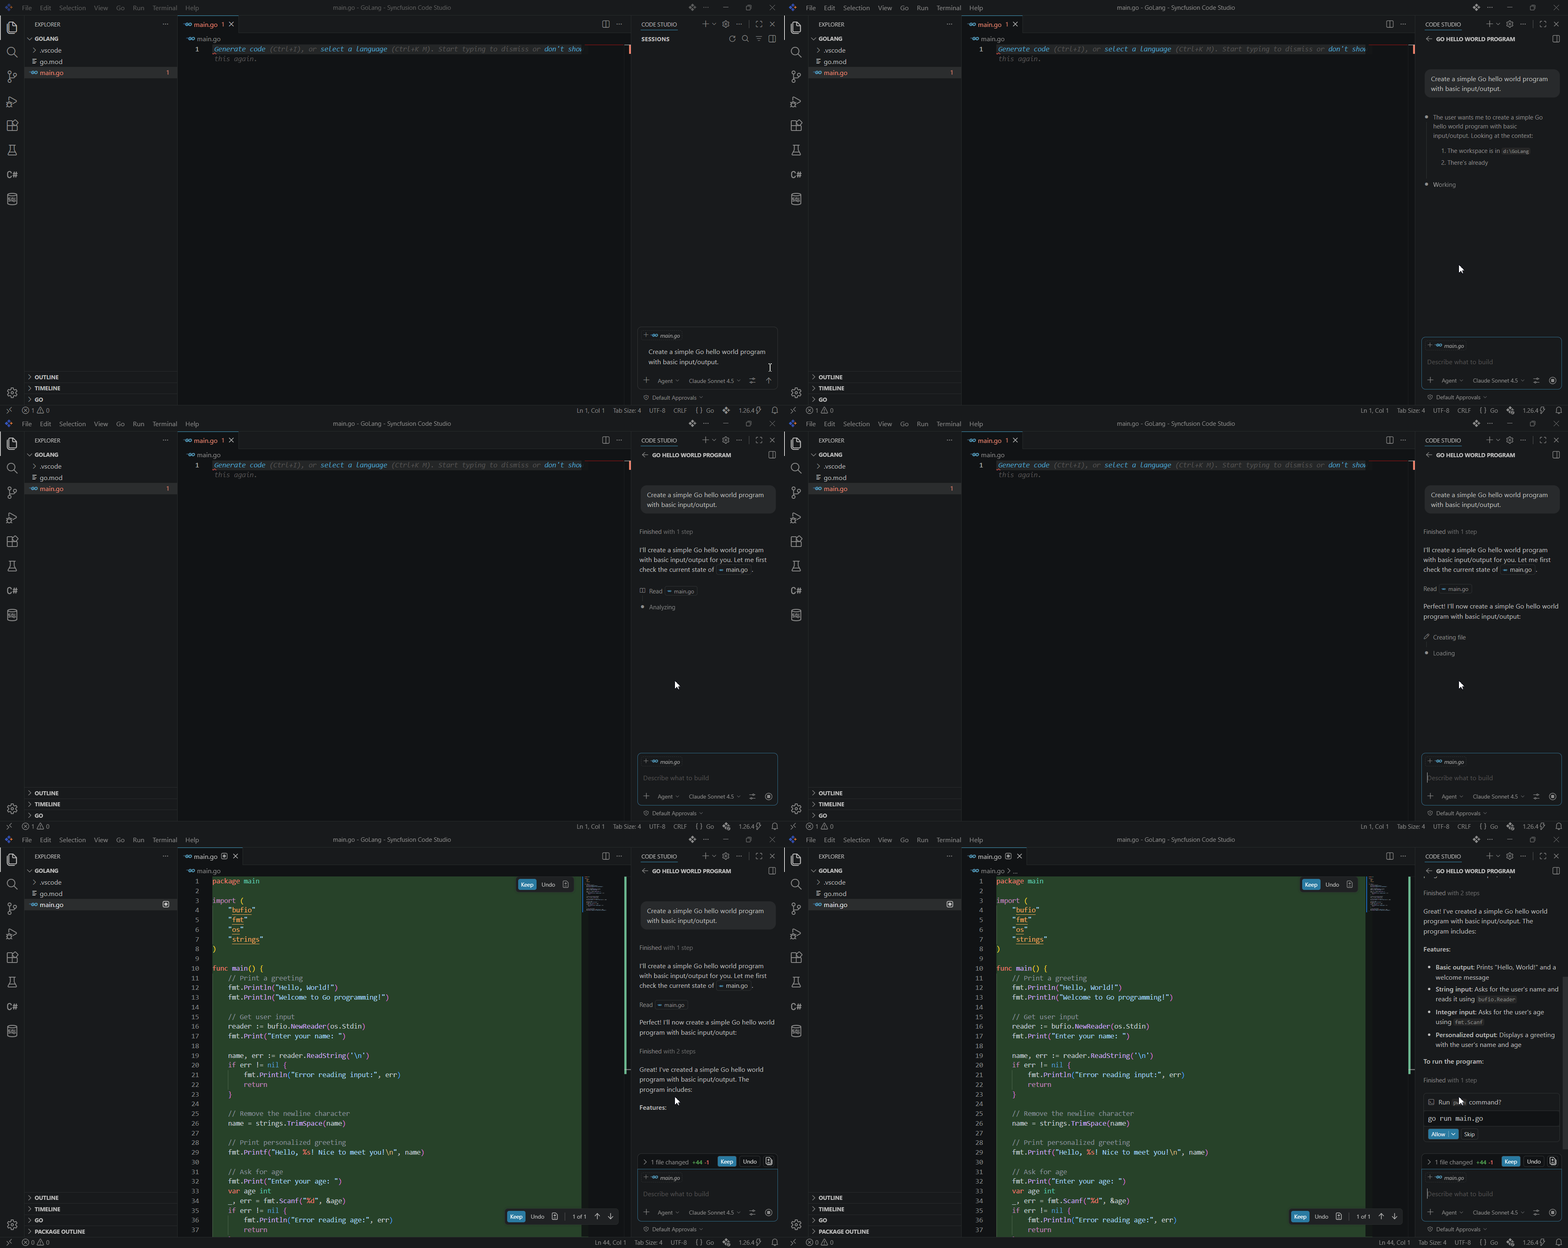
-
BoldCreate will generate a basic Go program.
Debug Your Go Code
Debugging is where BoldCreate truly shines. Let’s walk through setting up debugging and inspecting your program as it runs.
Step 1: Configure Debug Settings
- Click the Run and Debug icon (or press
Ctrl+Shift+D/Cmd+Shift+D) - Click “create a launch.json file”
- Select “Go” from the environment options
- BoldCreate creates
.vscode/launch.json
Example launch.json:
{
    "version": "0.2.0",
    "configurations": [
        {
            "name": "Launch Package",
            "type": "go",
            "request": "launch",
            "mode": "auto",
            "program": "${workspaceFolder}",
            "console": "integratedTerminal"
        }
    ]
}
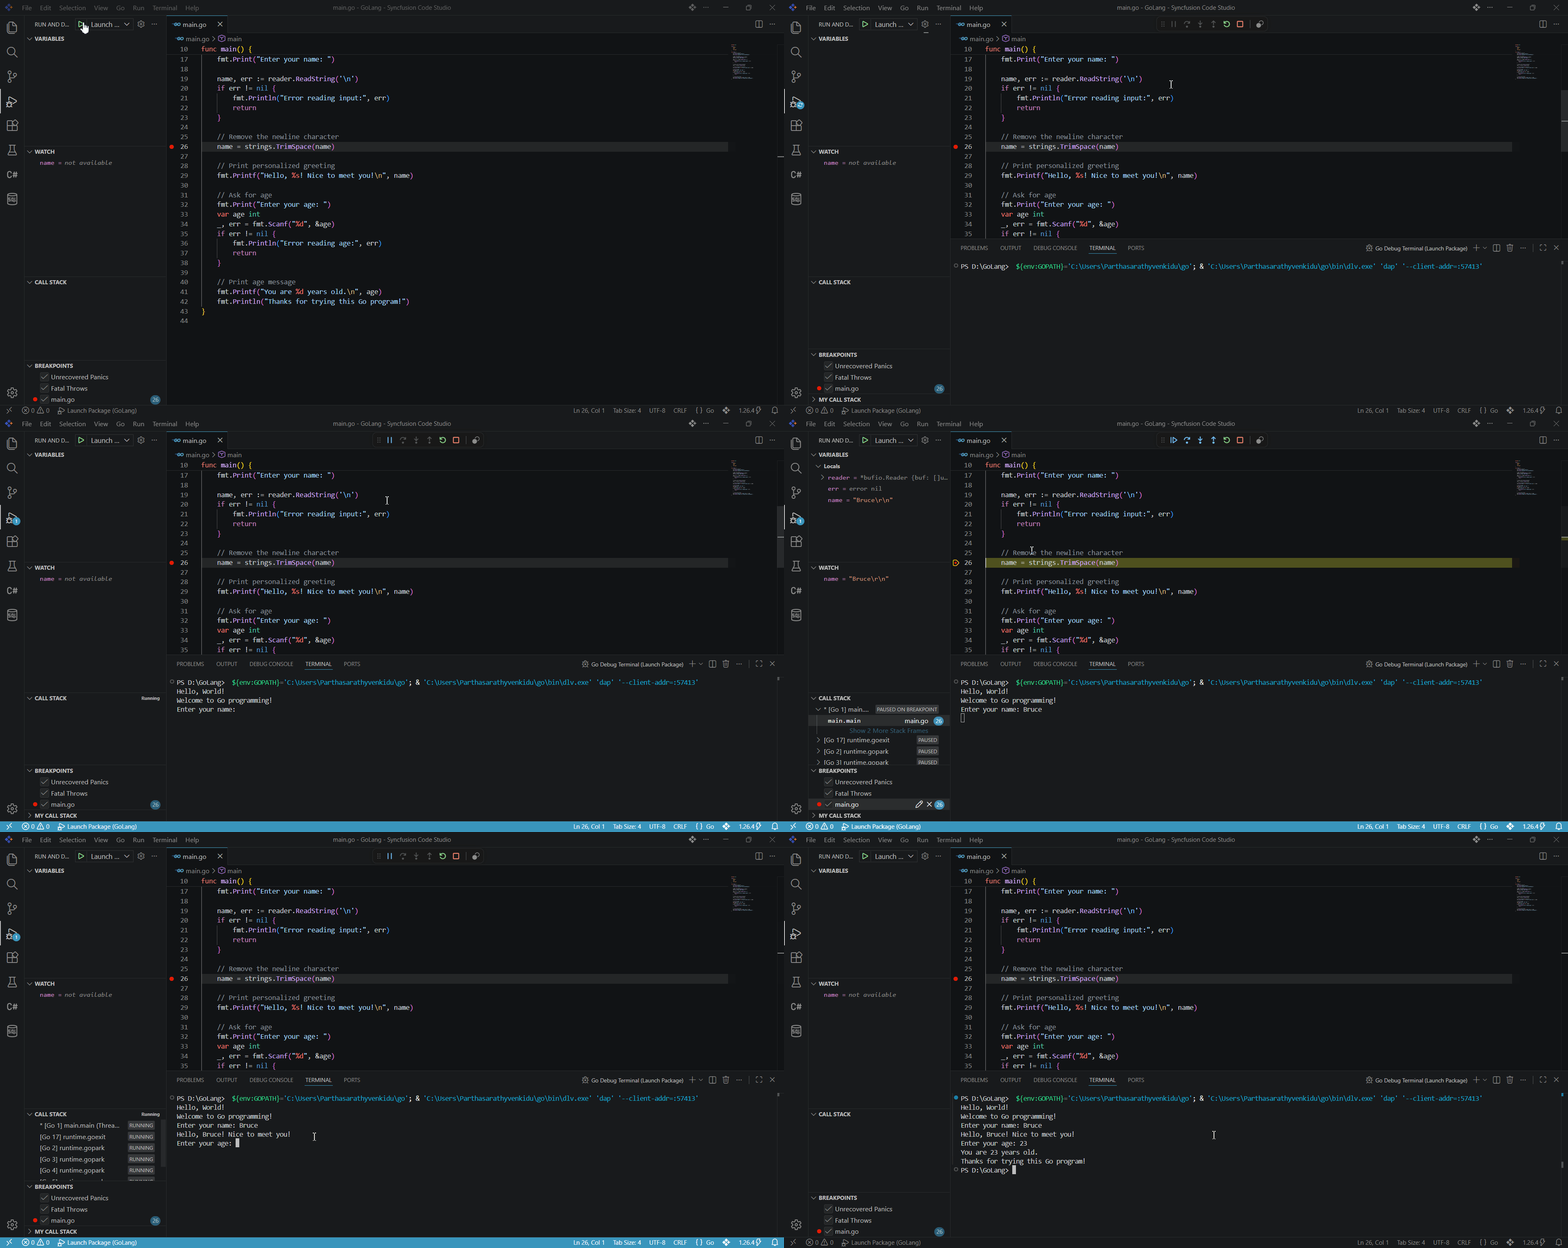
Step 2: Set Breakpoints
- Click in the left margin (line number area) to set a breakpoint
- A red dot appears on the line
Step 3: Start Debugging
-
Press
F5to start debugging -
The program will pause at your breakpoint
-
Use the debug toolbar:
- Continue (
F5) - Step Over (
F10) - Step Into (
F11) - Step Out (
Shift+F11)
- Continue (
-
While debugging, you can:
- Hover over variables to see their values
- View the Variables panel
- Add Watch expressions
- Inspect the Call Stack
Next Steps
Now that Your Go development environment is now fully configured in BoldCreate. Here’s what you can explore next:
- Build Real Projects: Start developing Go applications with full debugging support - see tutorials to get started
- Leverage AI Features: Use BoldCreate’s autocomplete, code explanation, and refactoring capabilities to speed up development
- Explore Agent Mode: For complex multi-package projects, try Agent mode for advanced refactoring and architectural improvements
- Learn More: Check out the Quick Start Guide and features overview for additional capabilities
Recommended Go Resources
Troubleshooting
Module imports showing errors:
- Run
go mod tidyin the terminal - Run
go mod downloadto fetch dependencies - Reload BoldCreate: Command Palette → “Developer: Reload Window”
Debugger won’t start:
- Check that your
launch.jsonconfiguration is correct - Verify your program builds successfully with
go build