
In this guide, you ship a real feature to a full-stack app.
You do it in one thread, in three passes. First you Ask the agent to explain how the code works. Then you Plan the feature together. Finally, you let the Agent build it. While the agent works, you start a second task in parallel, close the browser, and come back to two finished results, each ready for a pull request.
Prerequisites
Before getting started, make sure that:
- You completed the Quick Start. You have a Git provider connected and know how to pick a repository and branch.
What you’ll learn
By the end of this guide, you’ll know how to:
- Use Ask to trace how a feature works across the project.
- Use Plan mode before any code changes.
- Use Agent to build the feature.
- Run a second task in parallel and let both tasks finish while you are away.
- Review the changes, send review comments, and open pull requests.
Step 1: Start a thread with Ask
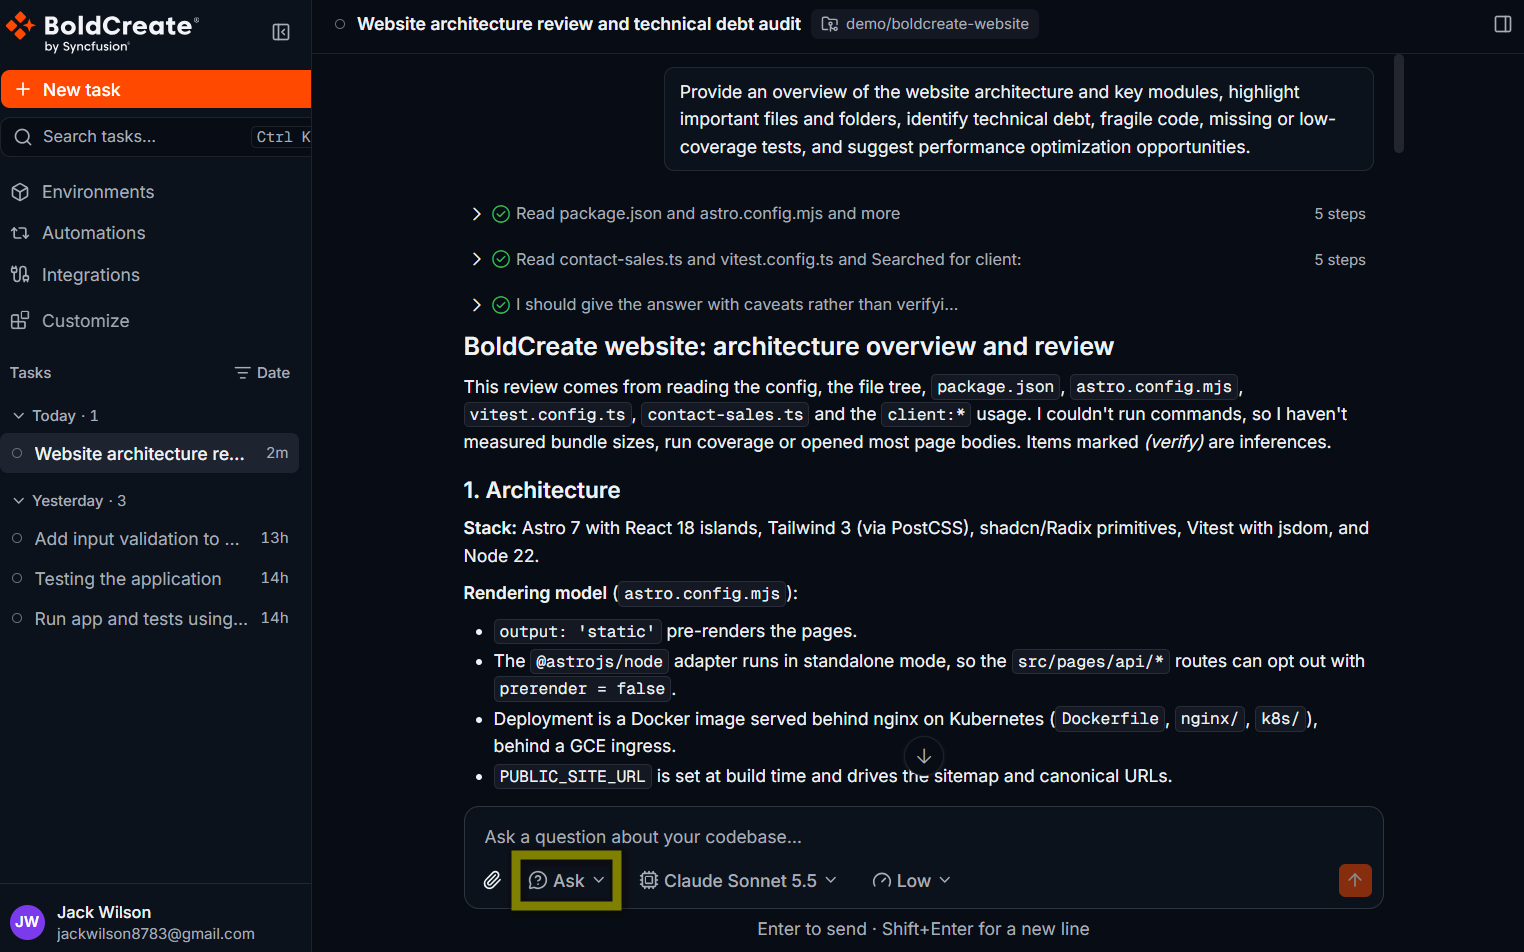
Ask answers questions about your codebase. It reads files but never changes them, so it is safe to use on any repository.
- In the sidebar, select New task.
- Select Repository or environment, then select your repository and branch.
- Select the agent picker and choose Ask. The prompt box shows Ask a question about your codebase….
- Type your question and press Enter.
Result
Use Ask before you change unfamiliar code. You learn how the code works in minutes, and the answer helps you write a better plan.
Step 2: Plan the feature
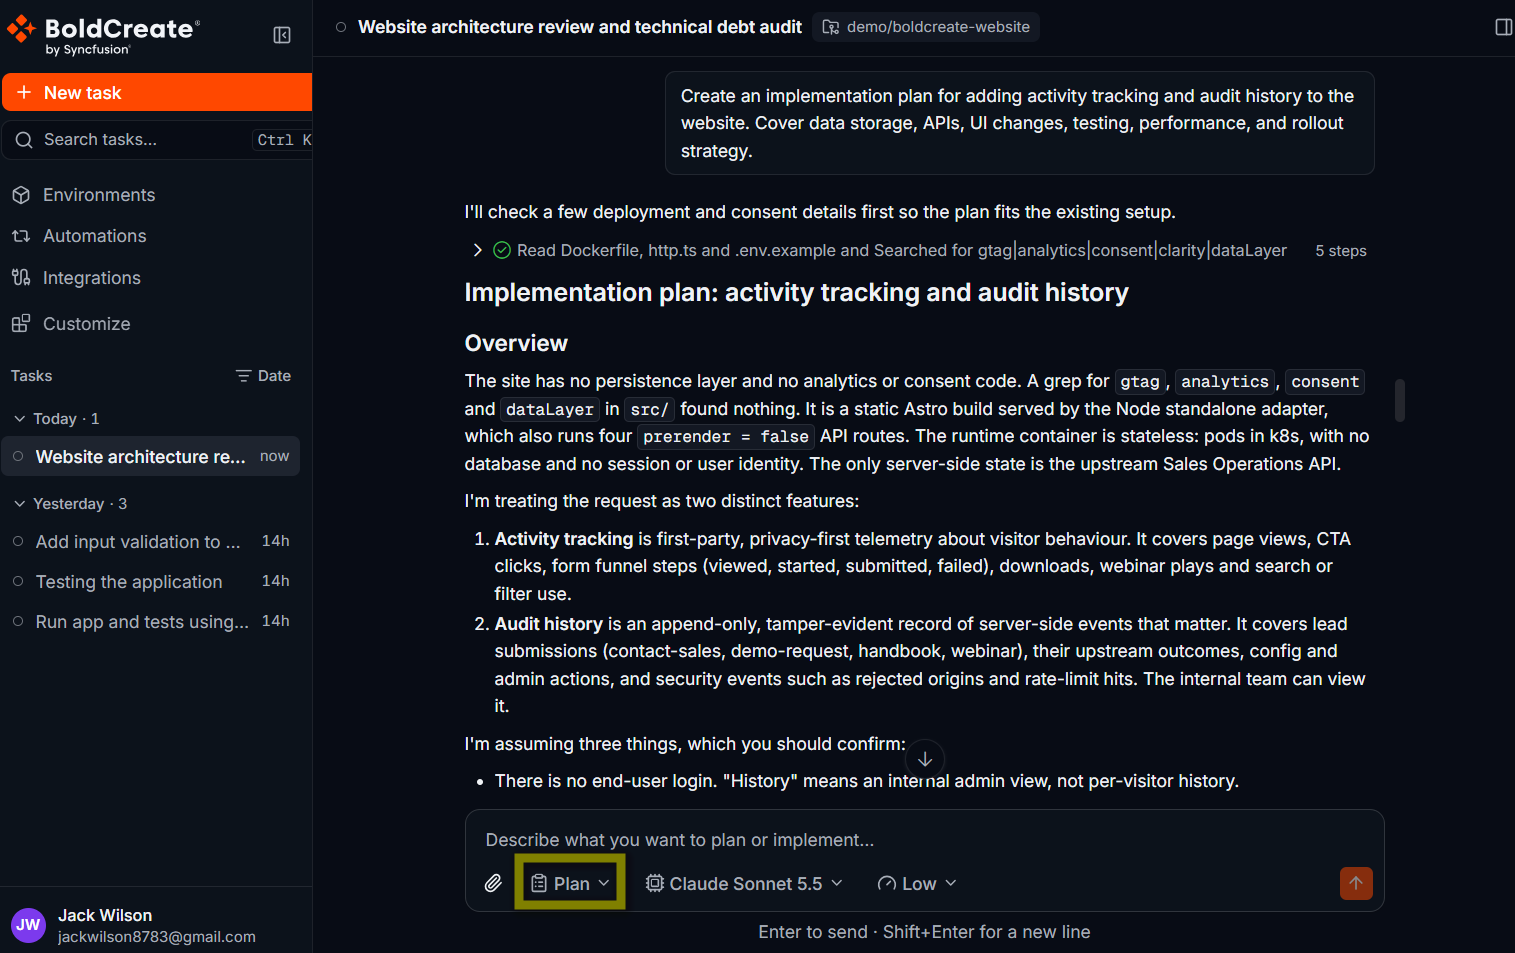
Plan produces a structured implementation plan without writing any code. Use it to agree on the design before the agent edits files.
- In the same thread, select the agent picker below the prompt box and choose Plan.
- Describe the feature, its requirements, and what must not change, then press Enter.
Result
Read the plan the way you would review a design from a teammate. Then refine it in the same thread. The agent updates the plan. Repeat until you are happy with it.
Step 3: Let the agent build it
Agent makes the changes. It reads and edits files, runs commands such as your tests and build, and works through the plan step by step.
- In the same thread, select the agent picker and choose Agent.
- Type your request and press Enter.
Result
The agent works through the plan, and you see each step in real time. It shows a to-do list. If a test fails, it reads the error, fixes the code, and runs the tests again.
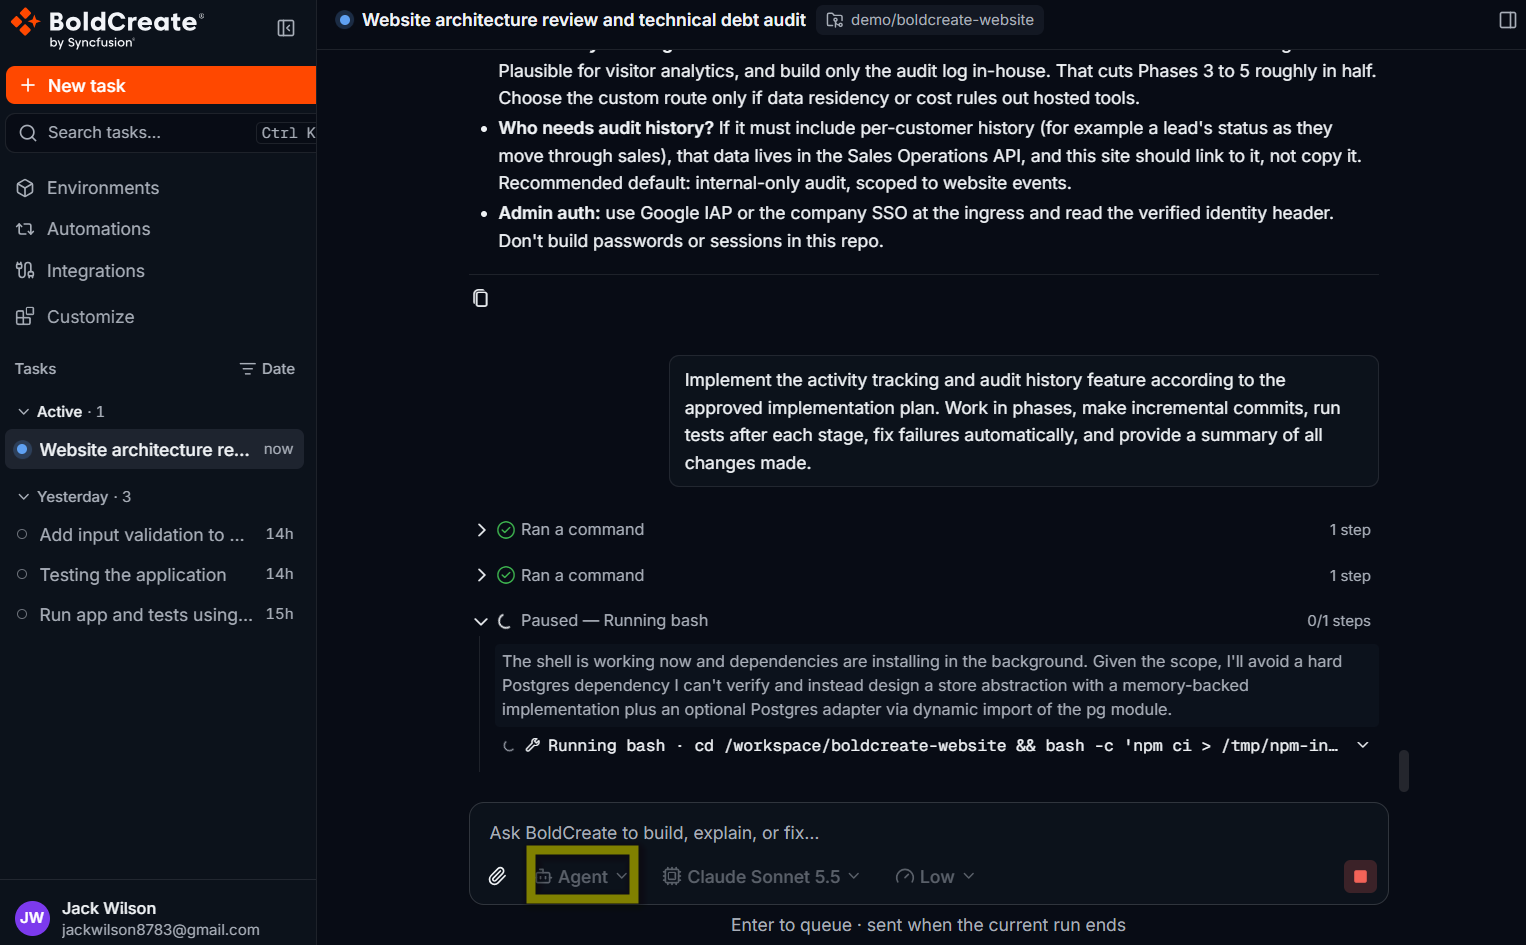
To stop the agent while it is working, select Stop response. To run the last response again, select Retry.
Step 4: Run a second task in parallel
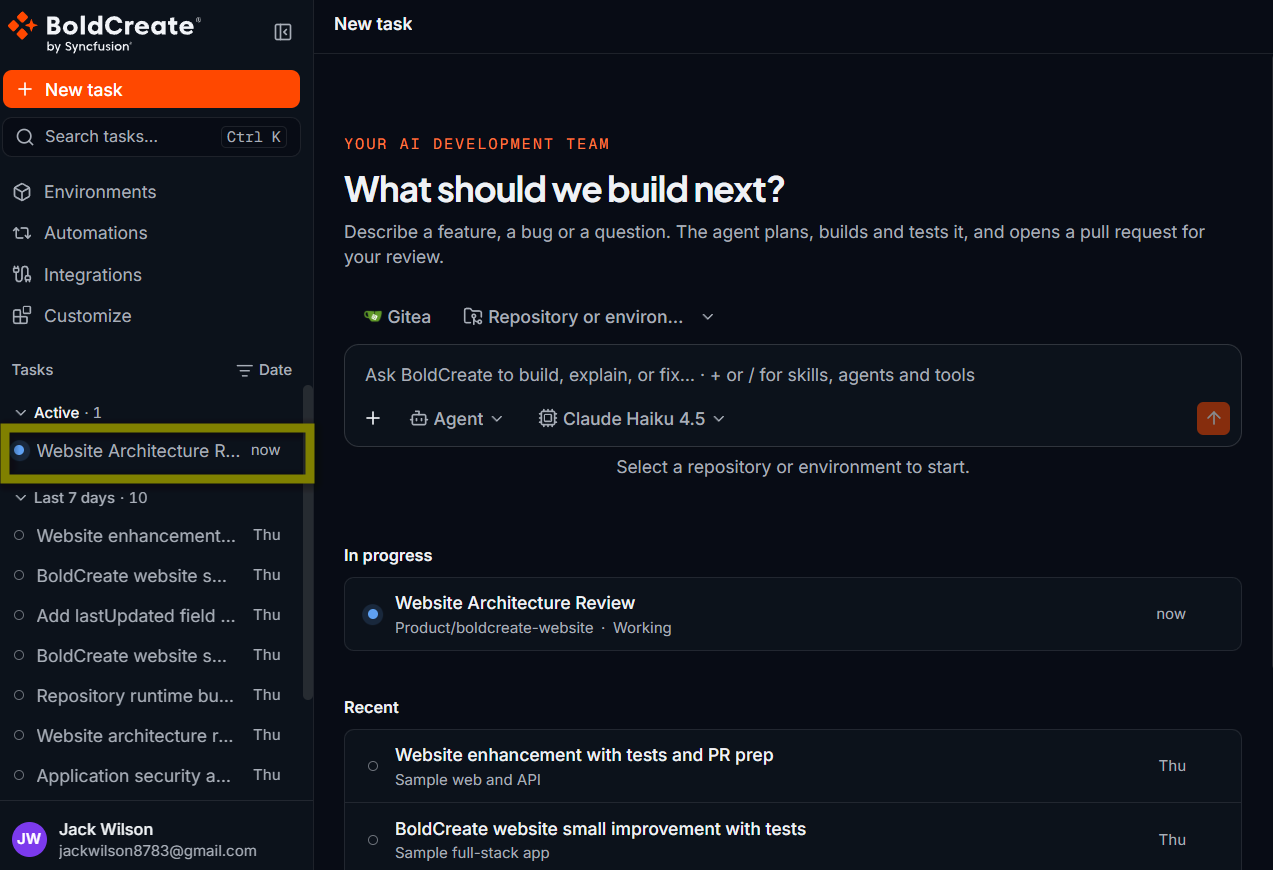
You do not need to wait for the first task to finish. Each task runs in its own cloud environment, so you can start another one right away.
- In the sidebar, select New Task.
- Select the same repository and branch.
- Select Agent and send a second request.
Both threads now show the Running status in the sidebar.
You can close the browser now. The tasks keep running in the cloud. When you come back, open each thread from the sidebar to see the results. Give parallel tasks separate areas of the code where you can. Each thread works on its own branch, so you get one pull request per task, and changes that do not overlap are easier to merge.
Step 5: Review the changes
When the activity feed thread shows the Completed status, review the changes.
-
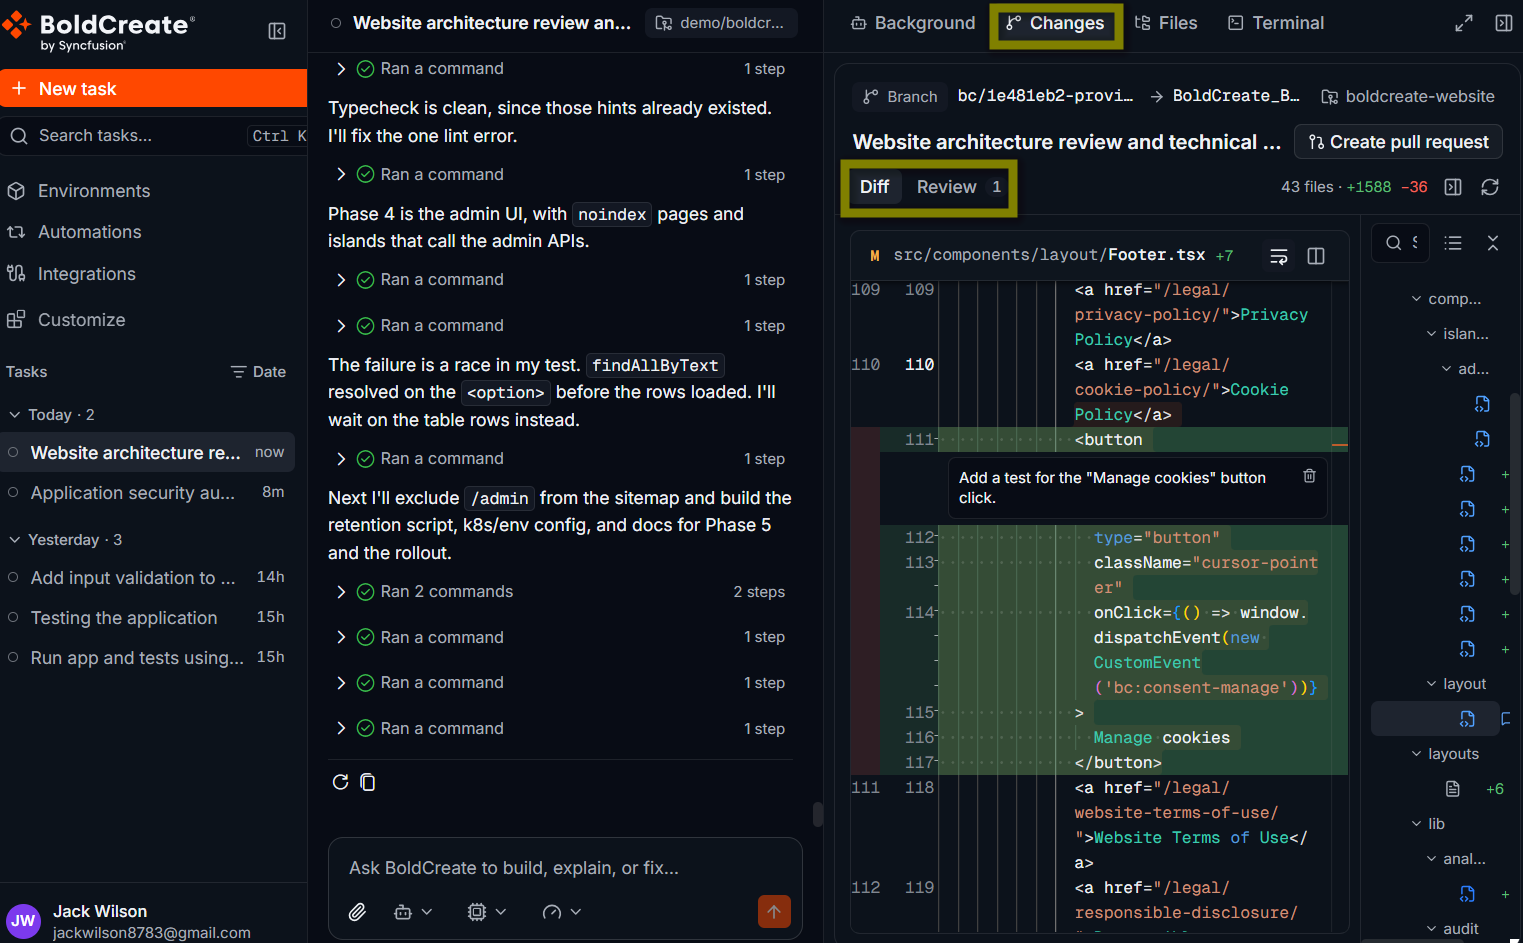
Open the thread. In its top-right corner, select Open workspace panel to open the Git panel.
-
Check the summary: lines added and removed and the number of files changed.
-
Select each changed file to see its diff.
-
If a line needs a change, hover over it and select Add review comment, then type your feedback. The comment appears in the prompt box.
-
Send your comments to the agent, and check the diff again after it finishes.
Step 6: Open the pull requests
When the changes look right, ask the agent to open a pull request, for example::
Commit the changes and open a pull request against main. In the description,
summarize the database change and explain how to test the activity feed by
hand.
The agent pushes its branch and opens the pull request. It writes the title and description for you. A pull request card with a link appears in the thread.
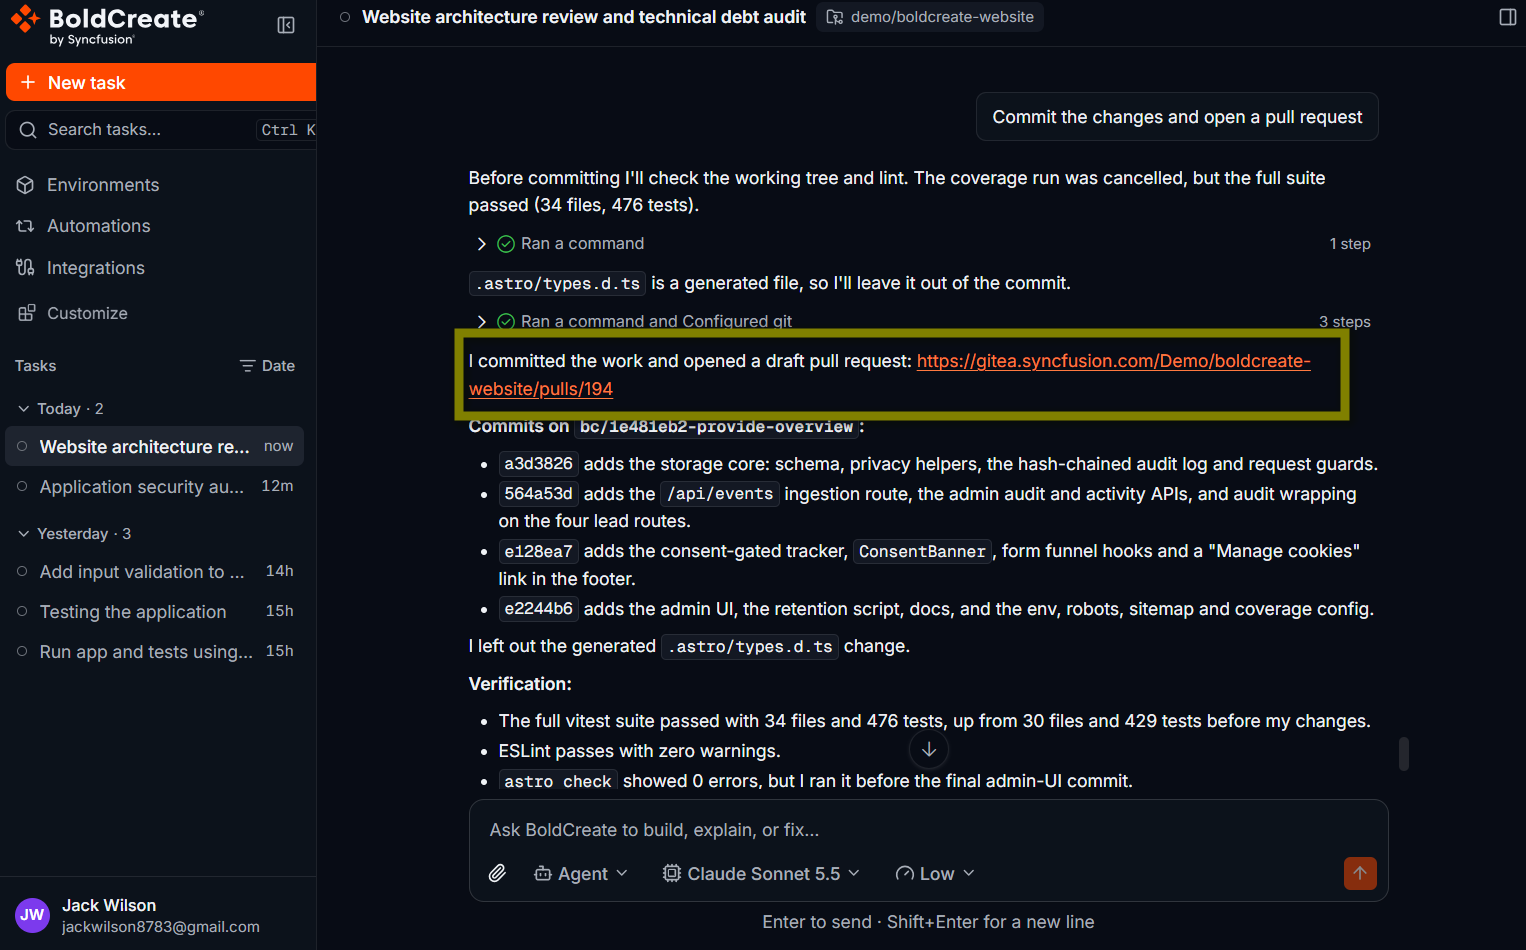
Repeat this step in the second thread. You now have two pull requests, built in parallel, ready for your team to review and merge in your Git provider.
Scope your task
The agent does its best work when you hand over a task the way you would hand it to a teammate. Before you send a prompt, check that it answers these questions:
- What is the outcome? Describe the result, not just the change.
- Where does it live? Mention files, folders, routes, or components if you know them.
- How do you know it works? Name the tests, build, or checks to run.
- What must not change? Call out APIs, files, or behavior to leave alone.
| Instead of | Try |
|---|---|
| “Fix the login.” | “Login returns a 500 error when the email has uppercase letters. Find the root cause in the auth service, fix it, add a regression test for mixed-case emails, and run the auth test suite.” |
| “Make the orders page faster.” | “The /orders endpoint loads every order before paging, and the page takes 6 seconds with 50,000 orders. Move paging into the database query, add an index if needed, keep the response shape the same, and add a test with a large data set.” |
| “Add tests.” | “Raise test coverage for server/src/billing above 90%. Cover refunds, partial payments, and currency rounding. Use the existing test setup, and do not change production code unless a test finds a real bug.” |
Tip: As a rule of thumb, one thread should hold one change you would review in one pull request. Split bigger work into several threads and run them in parallel.
Prompt ideas for your first tasks
Use Ask to understand code you did not write:
How does authentication work in this app? Trace a request from the login
form to the session check on a protected route, and list the places where a
token could be leaked or not checked.
Use Plan for changes that need a design
Plan a migration from the custom fetch wrapper in client/src/api to TanStack
Query. List every component that fetches data, the order to migrate them in,
how to keep the app working between steps, and the risks.
Use Agent for work you would rather hand off
Upgrade the project from React 18 to React 19. Update the dependencies,
replace any removed or deprecated APIs, fix the warnings, and make sure the
tests and the production build pass.
Audit the task list and task details pages for accessibility. Fix missing
labels, keyboard navigation, focus states, and color contrast issues, and
add tests that check the fixes with Testing Library queries by role.Tests in client/src/components/__tests__/TaskList.test.jsx fail about one
run in five. Find out why, fix the root cause instead of adding retries, and
run the file 20 times to confirm it is stable.