
In this tutorial, you fix a bug from start to finish in one thread. You use Ask to find where the bug comes from, Plan to agree on a fix, and Agent to write the fix and a test. Then you review the diff, send review comments back to the agent, and open a pull request. The example uses a Node.js web app in your-org/sample-app. Its product search returns no results when the search text has uppercase letters. For example, Laptop finds nothing, but laptop works. You can follow the same steps with a bug in your own repository. Change the prompts to match your code.
Prerequisites
Before you start, make sure that:
- You completed the Quick Start. You have a Git provider connected and know how to pick a repository and branch.
- You have a repository with a known bug that you can describe in one or two sentences, and a test setup the agent can run.
- You can push branches and open pull requests in that repository.
What you’ll learn
By the end of this tutorial, you’ll know how to:
- Describe a bug so the agent can find its cause.
- Use Ask to locate the code before anything changes.
- Use Plan to agree on a fix and a test.
- Let Agent fix the bug and prove it with a test.
- Add review comments on the diff and send them to the agent.
- Open a pull request from the thread.
Step 1: Start a thread on the right branch
- In the sidebar, select New task.
- Select Repository or environment, then select your-org/sample-app under Repositories.
- Select the branch button and pick the branch where the bug happens, for example main.
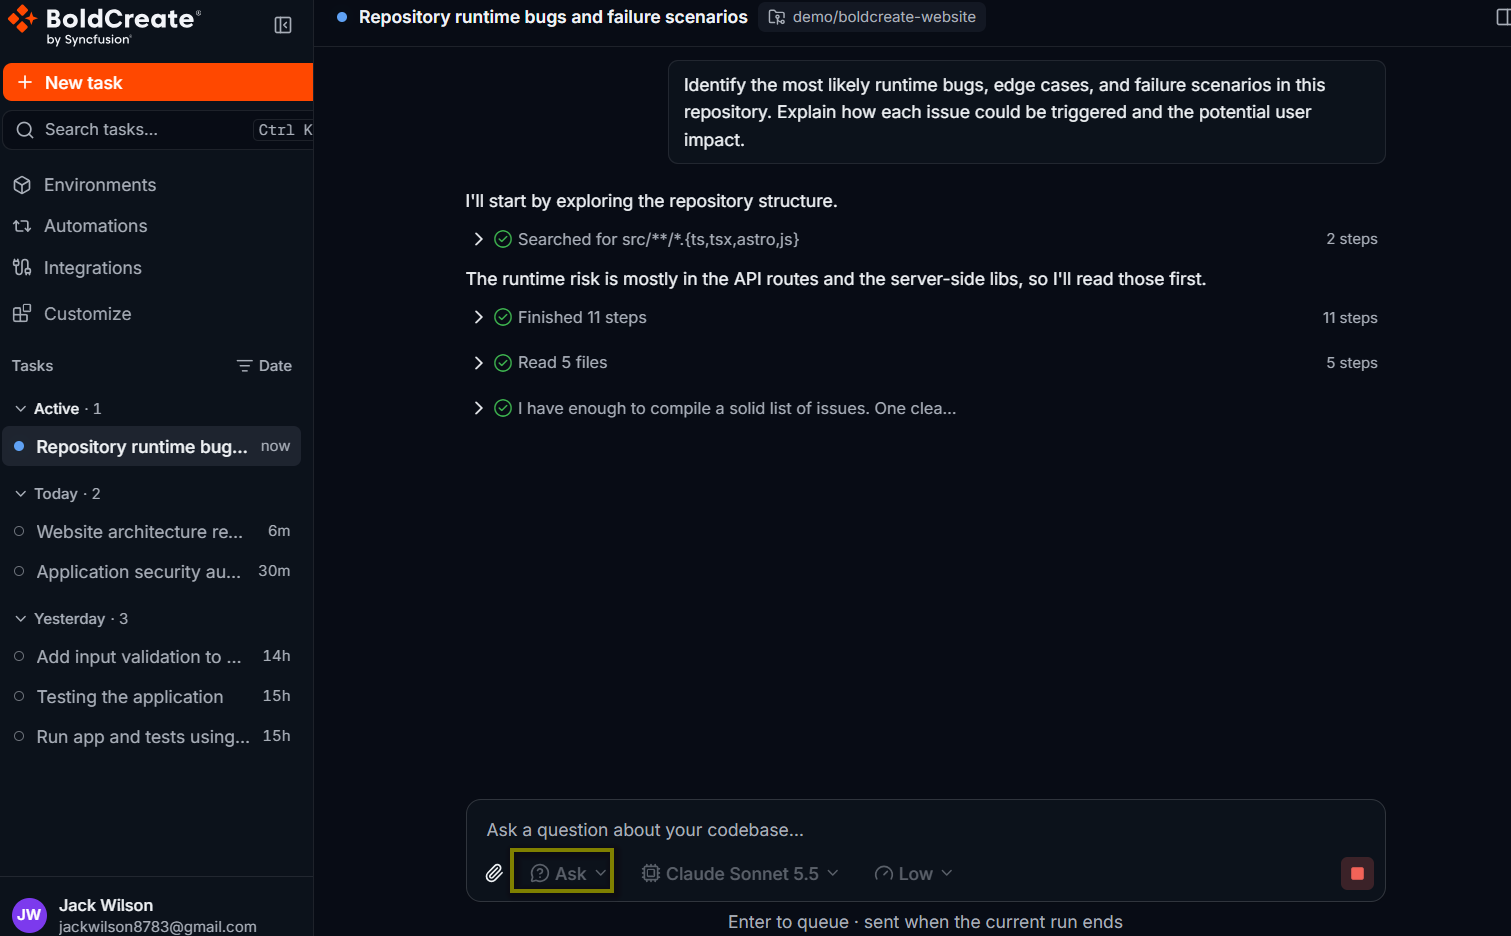
- Select the agent picker and choose Ask. The prompt box shows Ask a question about your codebase…. The agent does not change the branch you pick. It always works on a new branch of its own, so your branch stays as it is until you merge the pull request.
Step 2: Find the cause with Ask
Give Ask the symptom, a way to reproduce it, and what you expect. Ask reads the code but never changes files.
- Type the bug report and press Enter.
Result
The agent searches the code, reads the relevant files, and explains the cause. In this example, it reports that the search function lowercases product names but compares them with the query as typed.
Check the answer against the code before you continue.
Step 3: Plan the fix with Plan
Plan turns the cause into a step-by-step fix without writing any code. Ask for a test that fails before the fix, so you can see that the fix works.
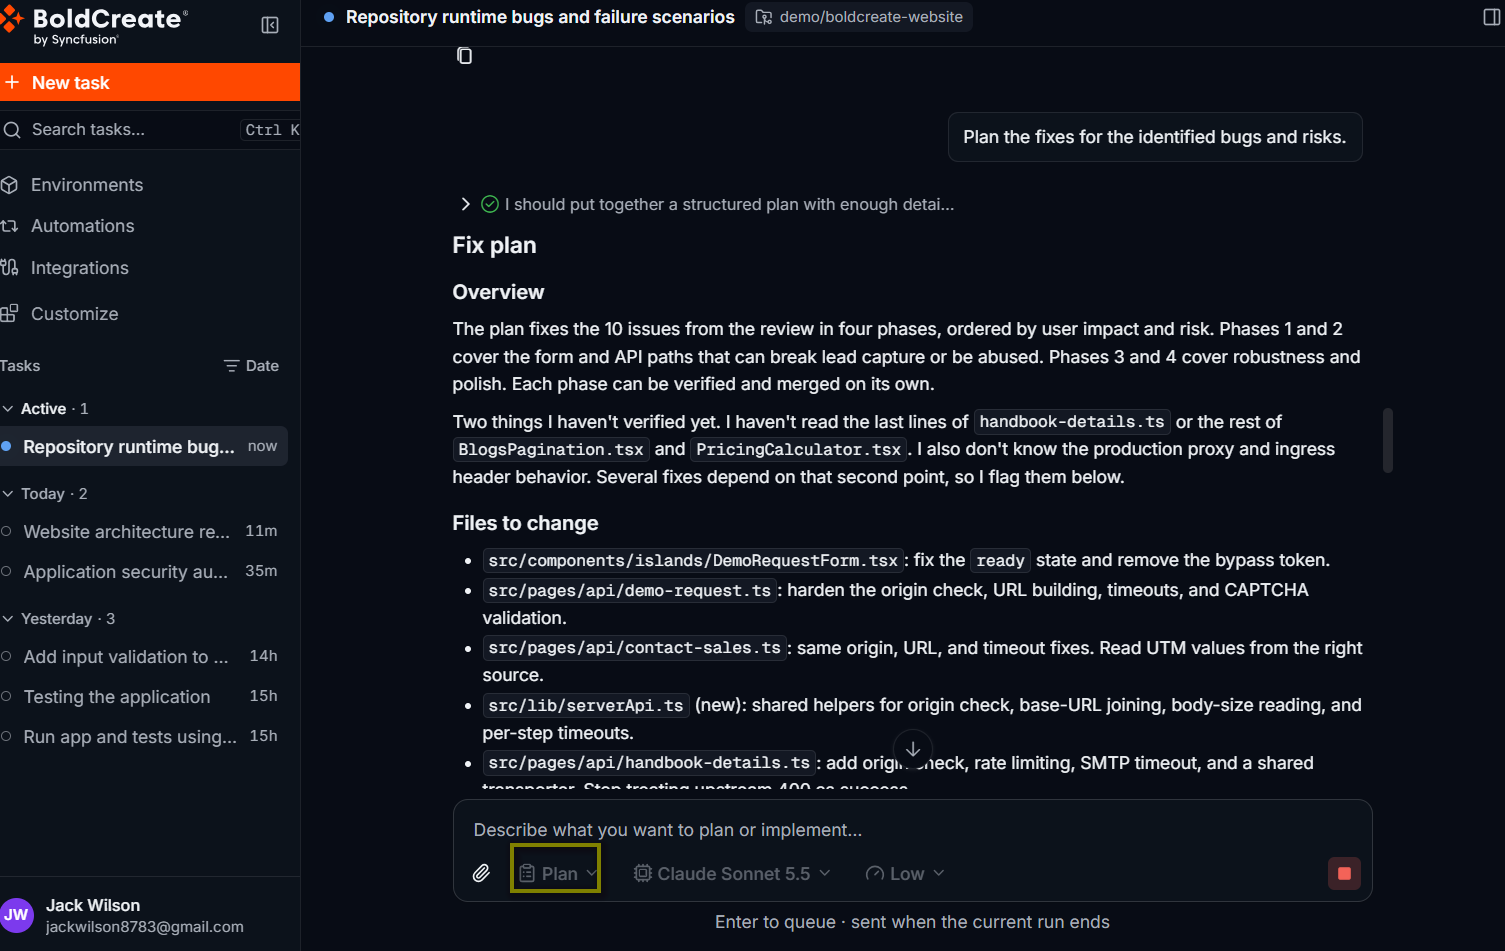
- Select the agent picker and choose Plan. The prompt box shows Describe what you want to plan or implement….
- Type your request and press Enter.
Result
The agent replies with a plan that names the test file, the code change, and the command to run the tests.
If you want a different approach, reply in the thread. The agent updates the plan. Continue when you agree with it.
Step 4: Fix the bug with Agent
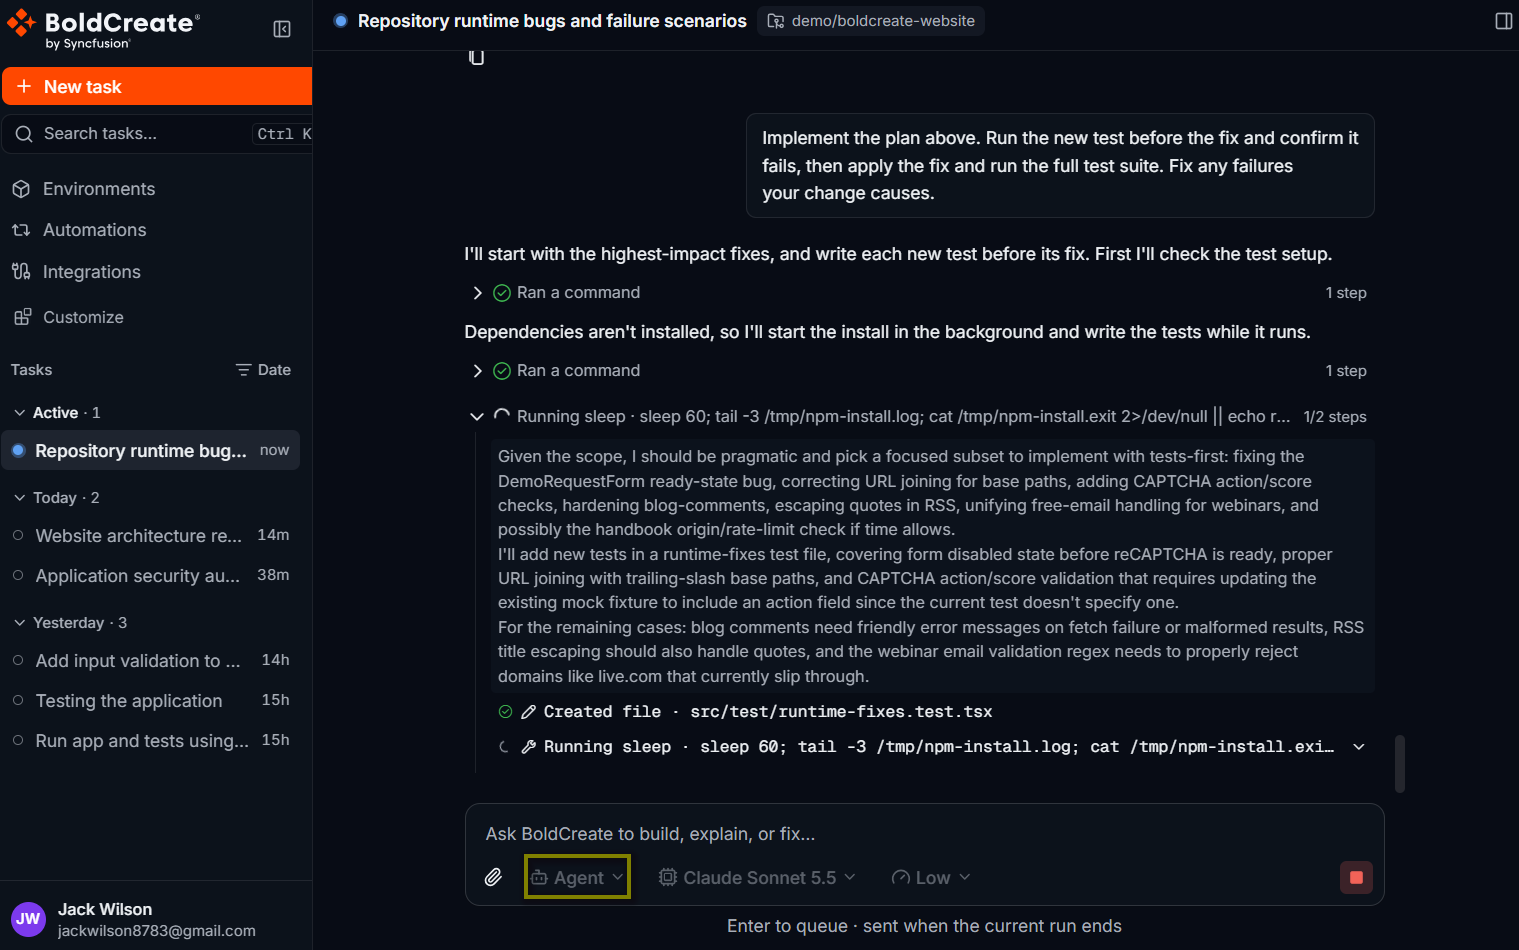
- Select the agent picker and choose Agent.
- Type your request and press Enter.
Result
The agent works through the plan, and you see each step in real time. The thinking block shows what it did, for example Edited 2 files with lines added and removed, and Ran 3 commands for the test runs. For longer tasks, the agent shows a to-do list and checks off items as it finishes them. When the agent is done, the thread shows Completed in the sidebar.
Read the agent’s final message. It should confirm that the new test failed before the fix and passes after it. If the agent could not run the tests, ask it why in the same thread. To stop the agent while it is working, select the stop button. To run the last response again, select Retry.
Step 5: Review the diff and add comments
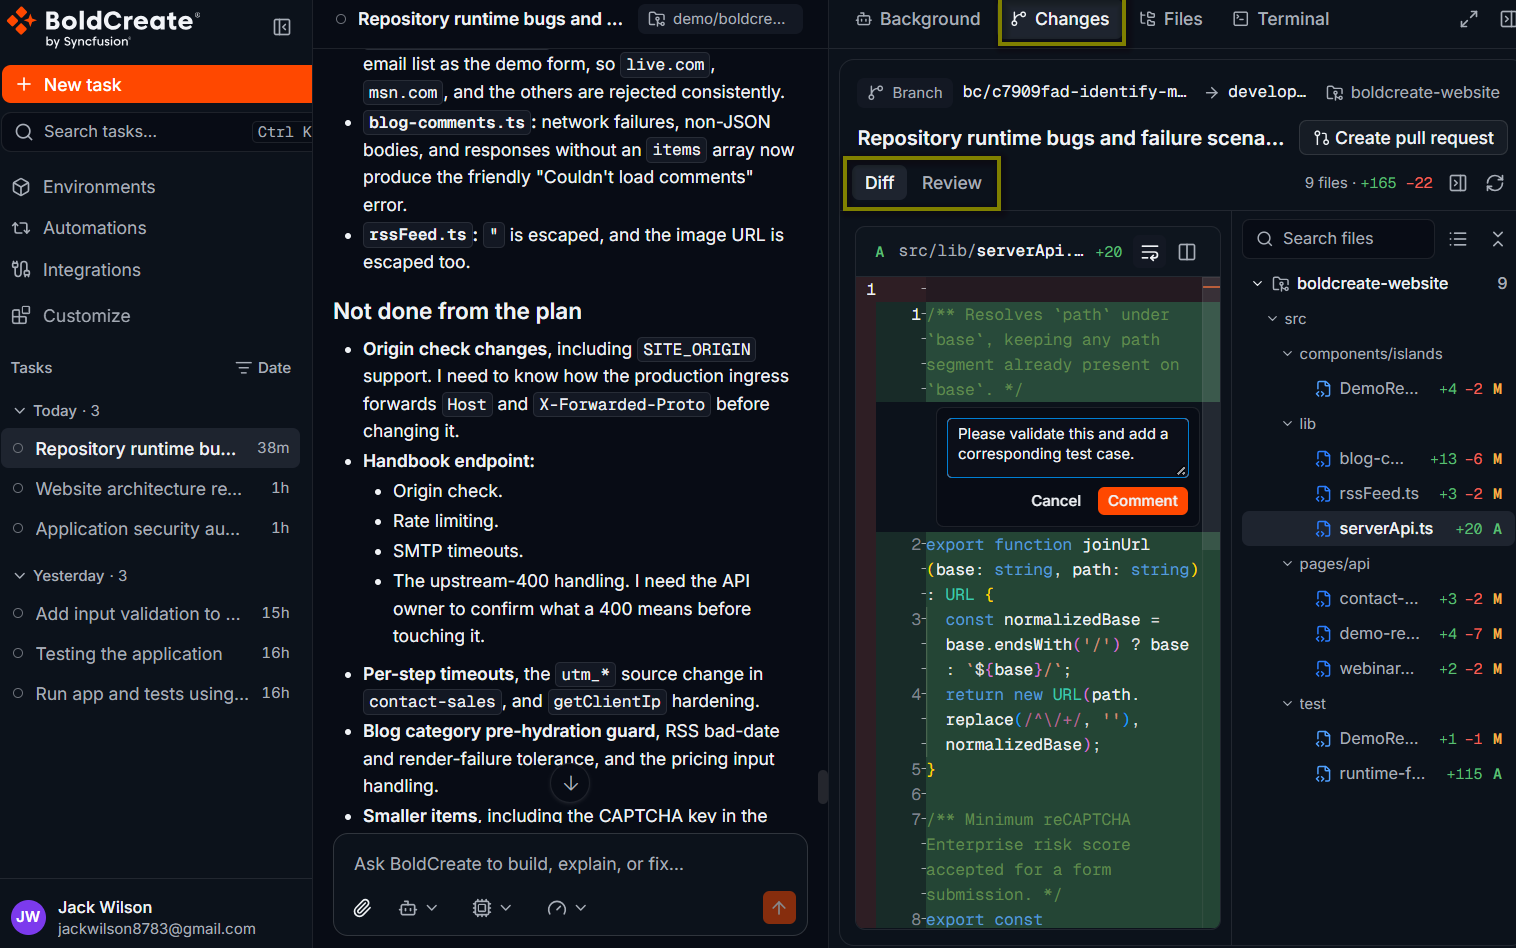
- In the top-right corner of the thread, select Open workspace panel. The Git panel opens. A badge shows how many changed files you have not viewed yet.
- Check the summary for your-org/sample-app: lines added, lines removed, and the number of files changed.
- Select the search service file in the file list to see its diff.
- Hover over a line you want changed and select Add review comment.
- Type your comment. Then select Comment. The comment is added to the review list at the bottom of the panel.
- Repeat for any other lines. Select the test file and add comments there too if needed.
- Select Submit Review to Agent. Your comments are added to the prompt box as one message, grouped by file and line.
- Read the message, edit it if you want, and press Enter.
In the comment box, press Ctrl + Enter (Cmd + Enter on macOS) to add the comment, or Esc to cancel it. To discard all comments, select Clear.
Result
The agent applies your review comments and runs the tests again. Open the Git panel to check the updated diff.
Step 6: Open a pull request
When the diff looks right, ask the agent to open a pull request in the same thread:
Commit the changes and open a pull request. Mention that the
fix makes product search case-insensitive and that a regression test was added.
Result
The agent commits and pushes its branch, then opens the pull request. Its branch name starts with bc/. The agent writes the pull request title and description for you, using what you asked for in the prompt. A pull request card appears in the thread with the title, author, and state of the pull request.
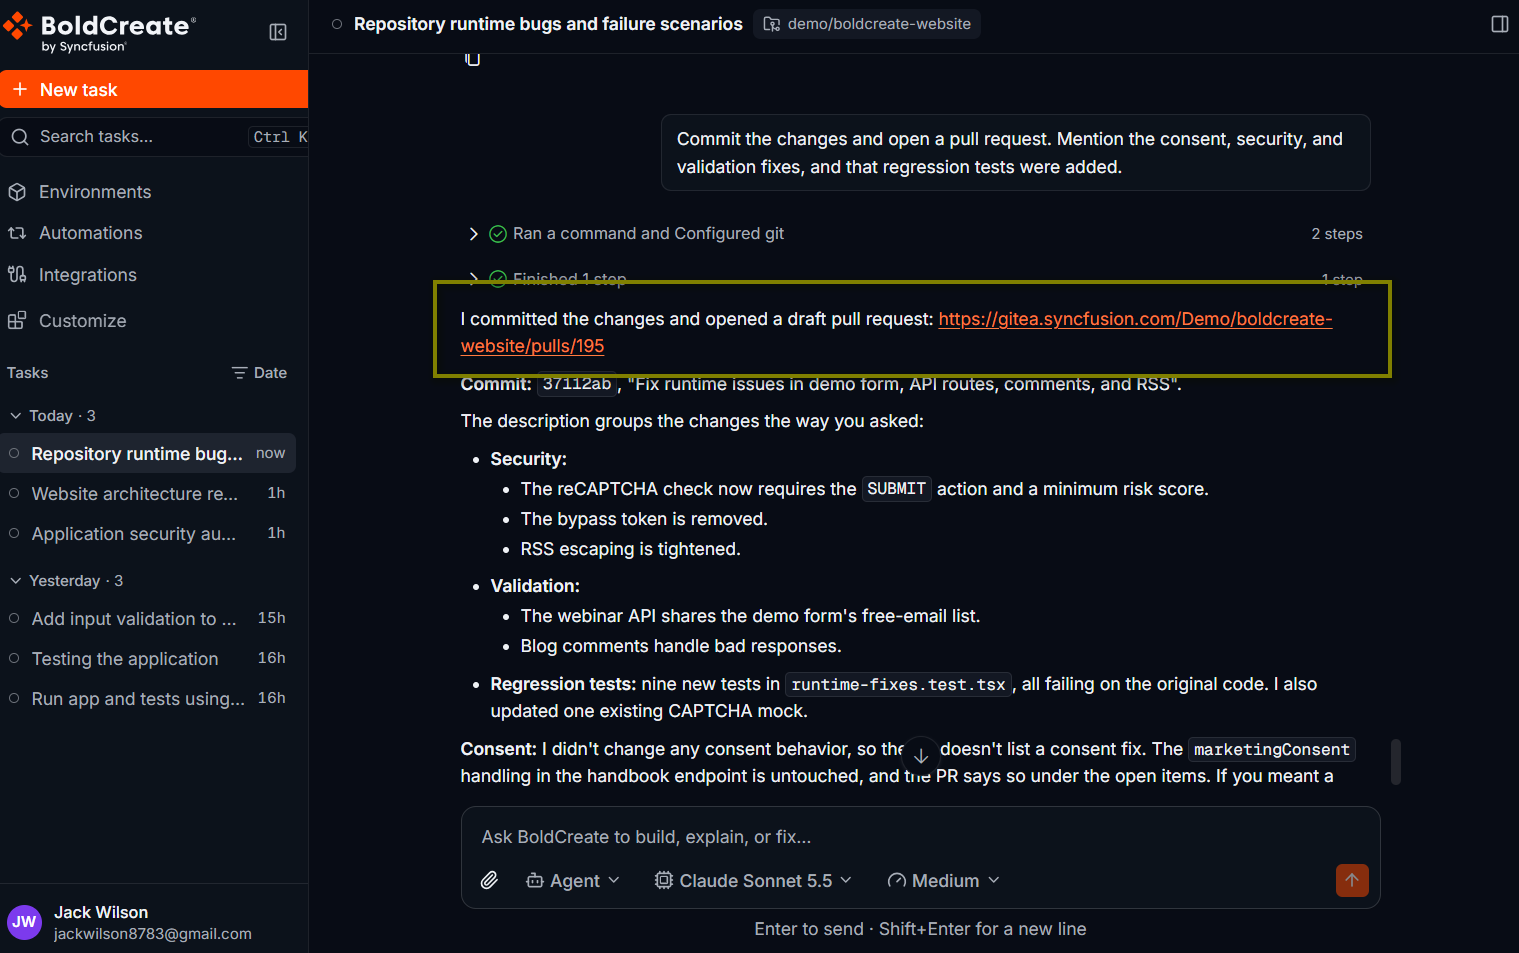
There is no step in Bold Create to edit the pull request title or description. Tell the agent what to include before it opens the pull request, or edit the pull request in your Git provider afterwards. Select the pull request title to open it in your Git provider. Review it with your team and merge it there.
Tips for bug fixes
- Give a reproduction: an input, the result you get, and the result you expect.
- Ask for a failing test first: it proves the bug exists and that the fix works.
- Name what must not change: response formats, public APIs, or files to leave alone.
- Fix one bug per thread: small pull requests are faster to review and merge.