
An environment saves everything the agent needs to work on your project: the repositories, the tools to install, the commands to run, and the environment variables. You set it up once, and every thread that uses it starts with the same, ready-to-use workspace. In this tutorial, you create an environment for a full-stack app made of two repositories:
- your-org/sample-web: a React frontend that uses npm.
- your-org/sample-api: a Python API that uses pip and a Redis cache.
You then start a thread that uses the environment and ask the agent to make a change across both repositories.
Prerequisites
Before you start, make sure that:
- You completed the Quick Start.
- You have a Git provider connected that can access both repositories. See Integrations.
- You know the commands your project needs, such as how to install dependencies and which services must be running.
What you’ll learn
By the end of this tutorial, you’ll know how to:
- Create an environment with more than one repository.
- Choose a primary repository and install commands for each repository.
- Add system setup commands, a start command, and environment variables.
- Share the environment with your team.
- Follow the build and read the build logs.
- Use the environment in a thread.
Step 1: Start a new environment
- In the sidebar, select Environments.
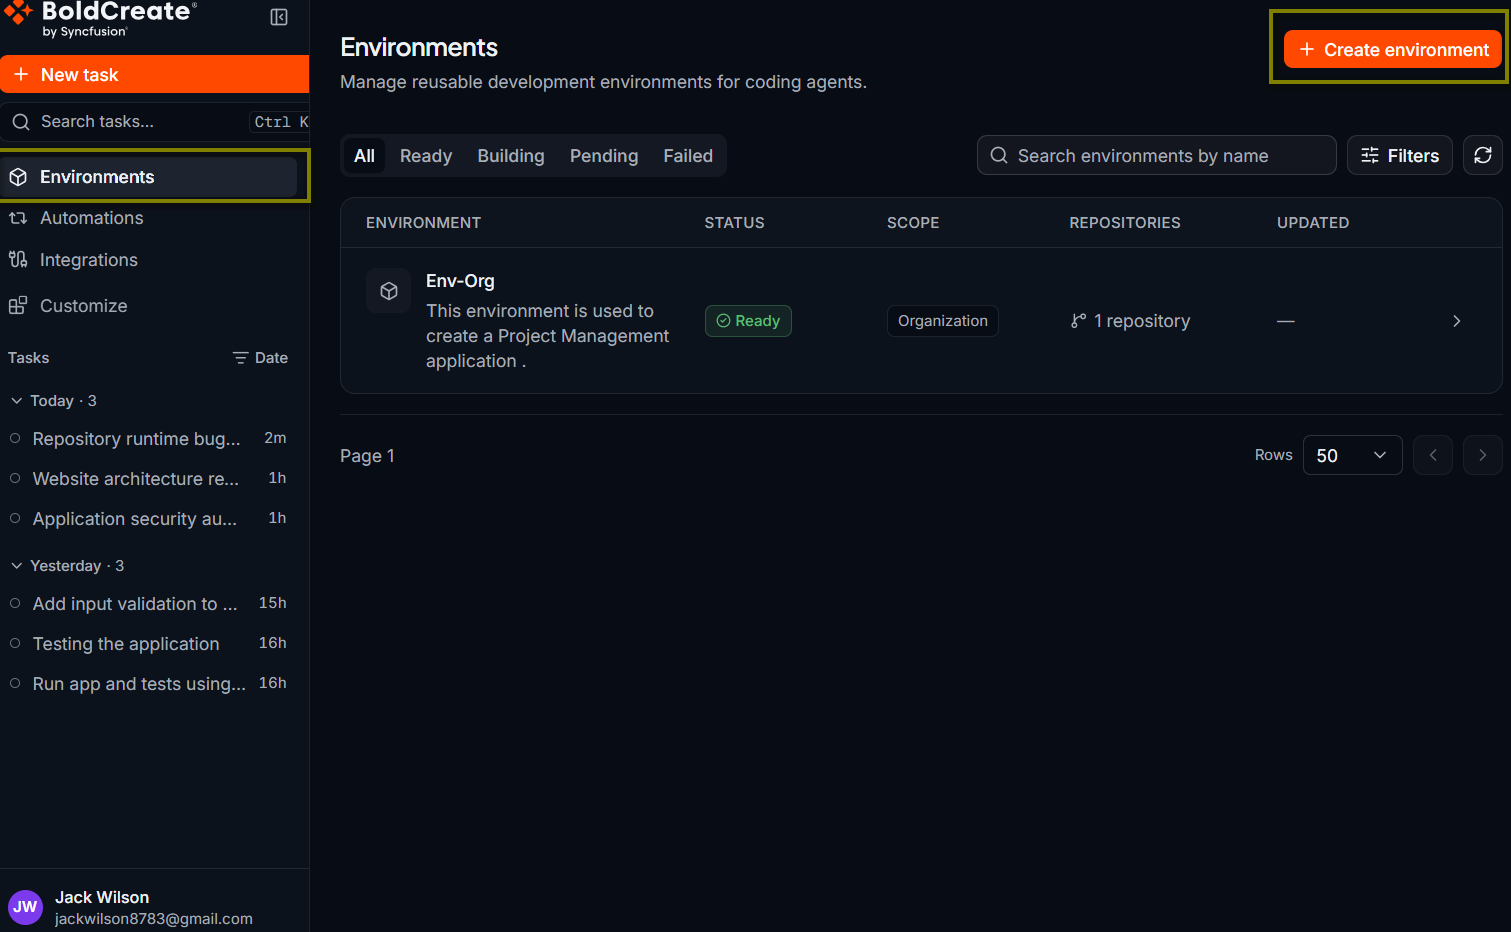
- Select Create environment. The Create environment page opens.
- Under General configuration, enter an Environment name, for example Sample full-stack app.
- In Description (optional), explain when to use it, for example Frontend and API for the sample store. Includes Redis.
Write the description for the people who pick environments in the composer. Say what is included, so they can choose the right one.
Step 2: Add the repositories
-
Under Repositories, open Connected provider and select your Git provider, for example GitHub.
-
In Repository 1, open Repository and select your-org/sample-web.
-
Open Branch and select the branch the agent should start from, for example main.
-
In Install command (optional), enter the command that installs the frontend dependencies:
npm ci -
Select Primary repository for this repository.
-
Select Add repository.
-
In Repository 2, select your-org/sample-api and the main branch.
-
In Install command (optional), enter:
pip install -r requirements.txt
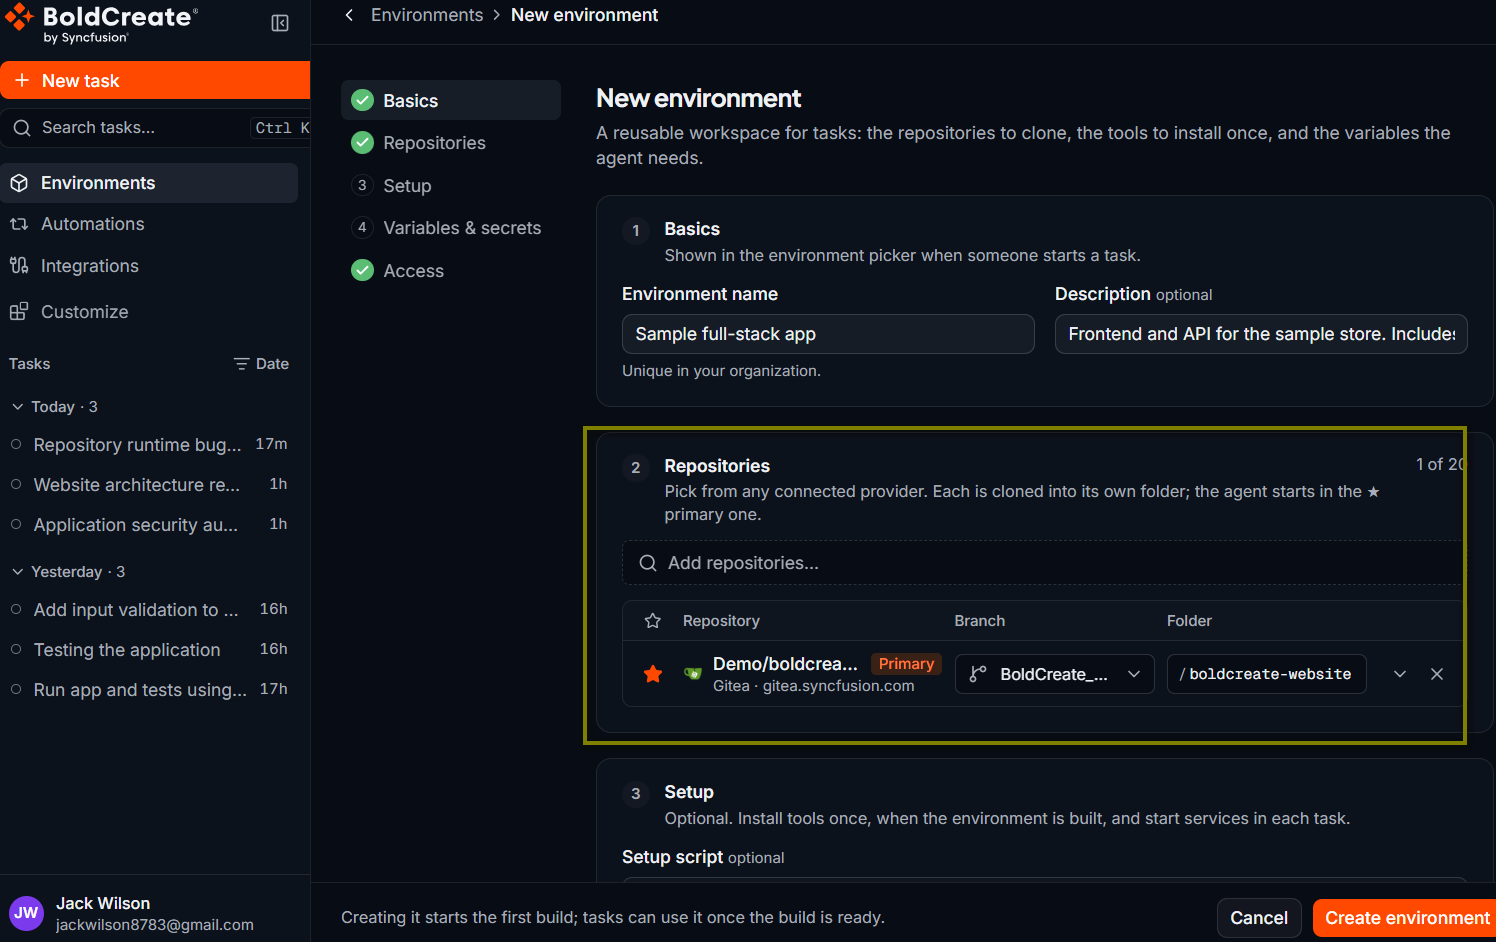
Each repository is cloned into its own folder, and its install command runs inside that folder. The agent starts its work in the primary repository, and it can read and change files in both repositories.
Pick the repository where most of the work happens as the primary repository. Every environment needs exactly one. To remove a repository, select Remove on its row.
Step 3: Configure the script and commands(optional)
-
In System setup commands (optional), enter the system tools your project needs, one command per line:
apt-get update && apt-get install -y redis-serverThese commands run once, while the environment is built.
-
In Start command (optional), enter the command that starts the services the agent needs while it works:
redis-server --daemonize yesThe start command runs each time the environment starts for a thread.
-
In Environment variables (optional), enter one KEY=value pair per line:
REDIS_URL=redis://localhost:6379
VITE_API_BASE_URL=http://localhost:8000
The values are available to the setup commands, the start command, and the agent.
Environment variables are shown on the environment details page to everyone who can open the environment. Do not put passwords, tokens, or other secrets in them.
Every environment has 4 CPU cores and 8 GB of memory. You cannot change these resources.
If you prefer a Dockerfile, select Dockerfile as the runtime source and add your tools as RUN steps. System setup commands are not used with a Dockerfile. See Create an environment.
Step 4: Share the environment with your team
-
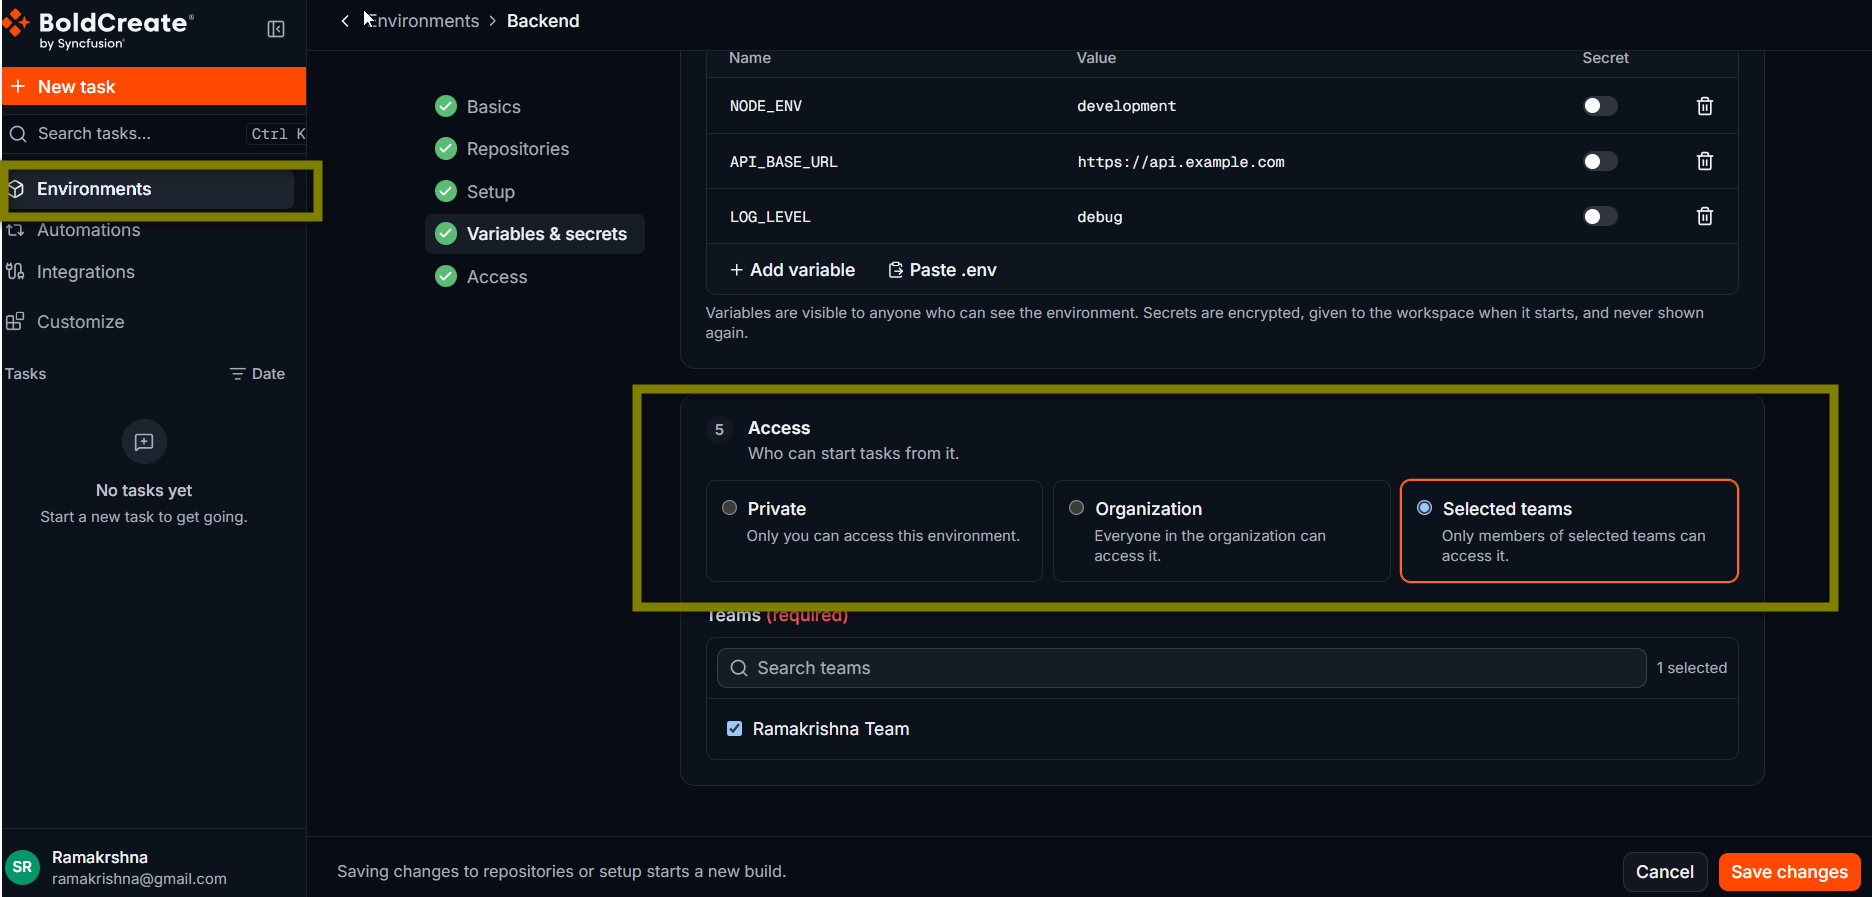
Under Access, select who can use the environment:
- Private: only you.
- Organization: everyone in your organization.
- Selected teams: only members of the teams you pick.
-
For this tutorial, select Selected teams.
-
Under Teams, search for your team and select it.
-
Select Create environment.
Result
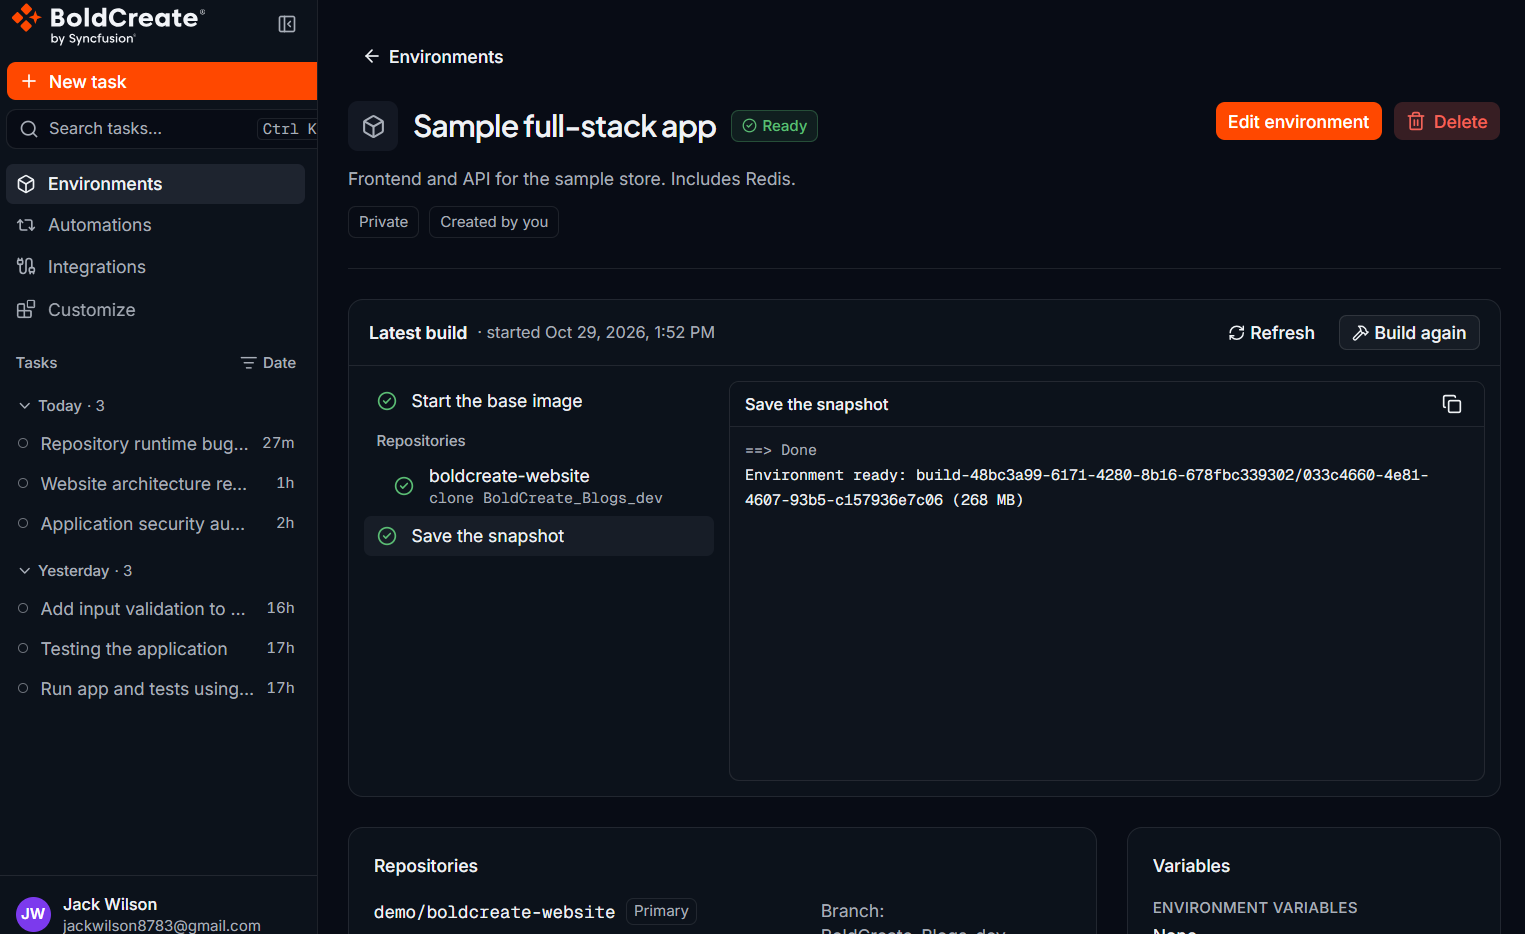
Bold Create saves the environment and opens its details page. The build starts on its own, and the status shows Building.
Step 5: Follow the build
- On the details page, select View logs. The Build logs dialog opens and shows the output of your setup and install commands.
- Select Refresh to load the latest output, or wait for it to update while the build runs.
- Select Close when you are done.
When the build succeeds, the status changes to Ready. Only environments with the Ready status can be used in a thread.
If the status changes to Failed, open View logs and look for the first error, for example a command that was not found or a package that failed to install. Fix the command on the edit page, then select Rebuild. For more help, see Environment build failed.
Step 6: Use the environment in a thread
-
In the sidebar, select New task.
-
Select Repository or environment.
-
Under Environments, select Sample full-stack app. You do not pick a branch. The environment uses the branches you set for each repository.
-
Make sure the agent picker shows Agent.
-
Type a task that touches both repositories and press Enter:
Add a "lastUpdated" field to the product response in sample-api, and show
it on the product details page in sample-web as "Updated <date>". Add a
test in each repository and run both test suites.
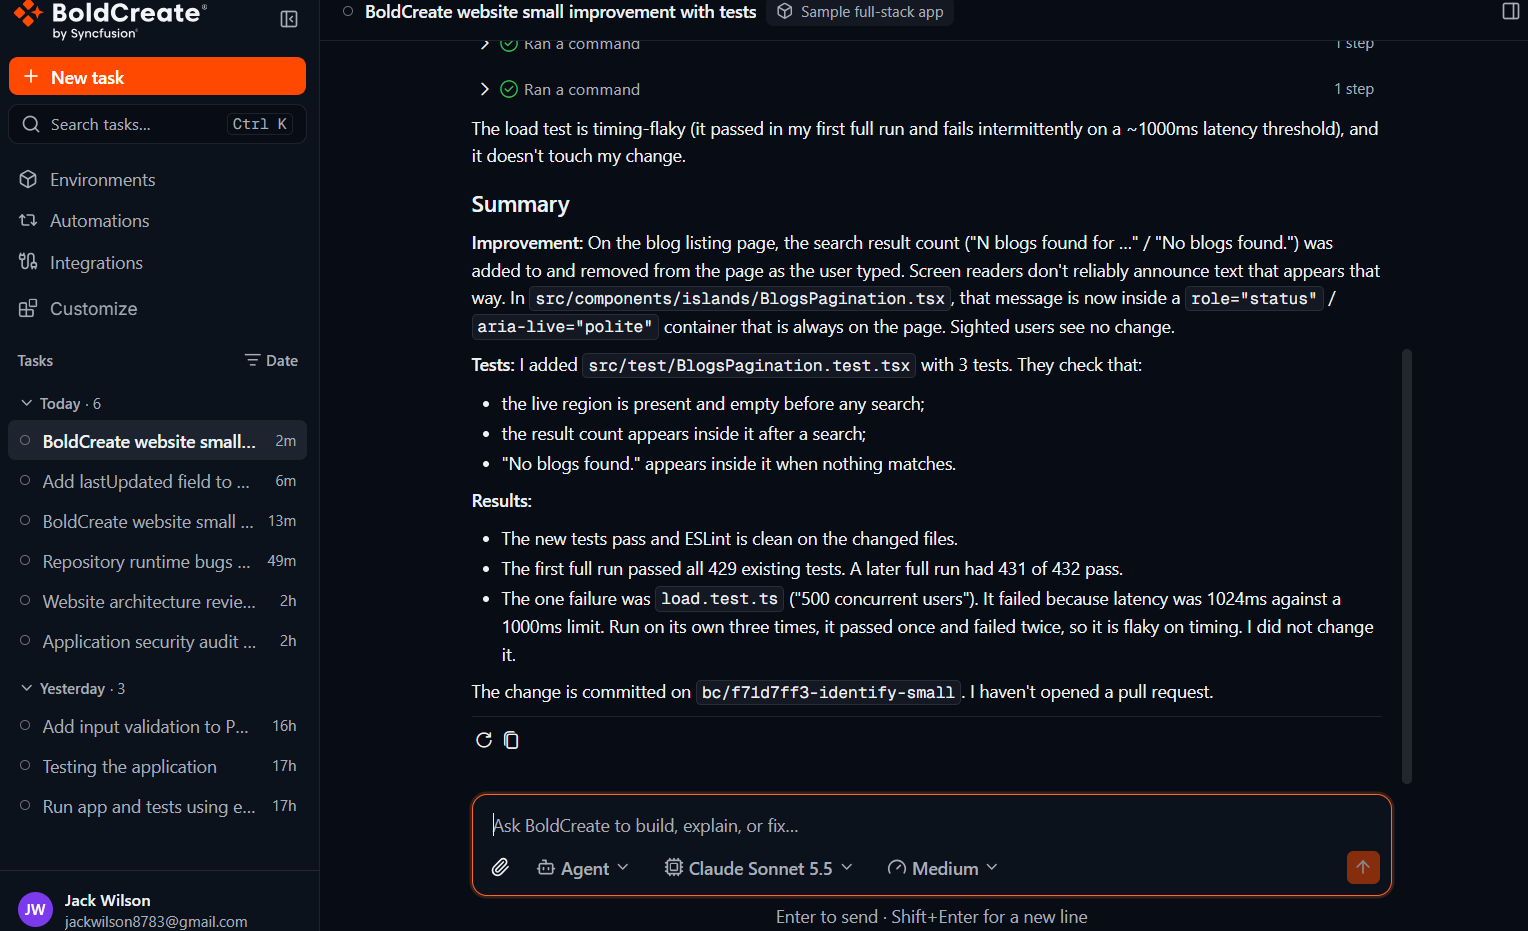
Result
The agent starts with both repositories cloned, dependencies installed, and Redis running. It makes the changes in both repositories and runs the tests. When it is done, select Open workspace panel. The Git panel lists each repository under Repositories with its own lines added, lines removed, and file count. Select a repository to review its diff.